
Printer Sharing in AD Walkthrough
Adding a printer to AD

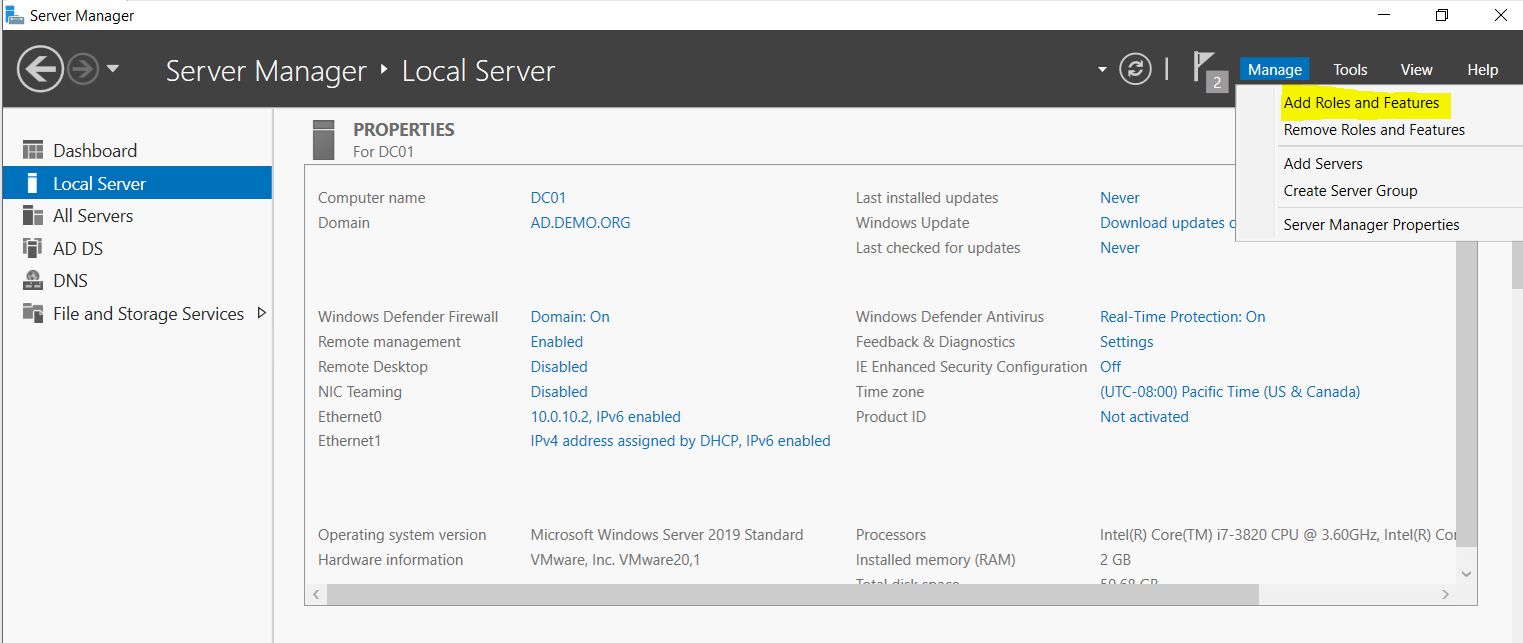
Choose a server to be your Print Server. In real life, I would not add it to a Domain Controller. This is a lab, so DC it is! Add the role as follows:
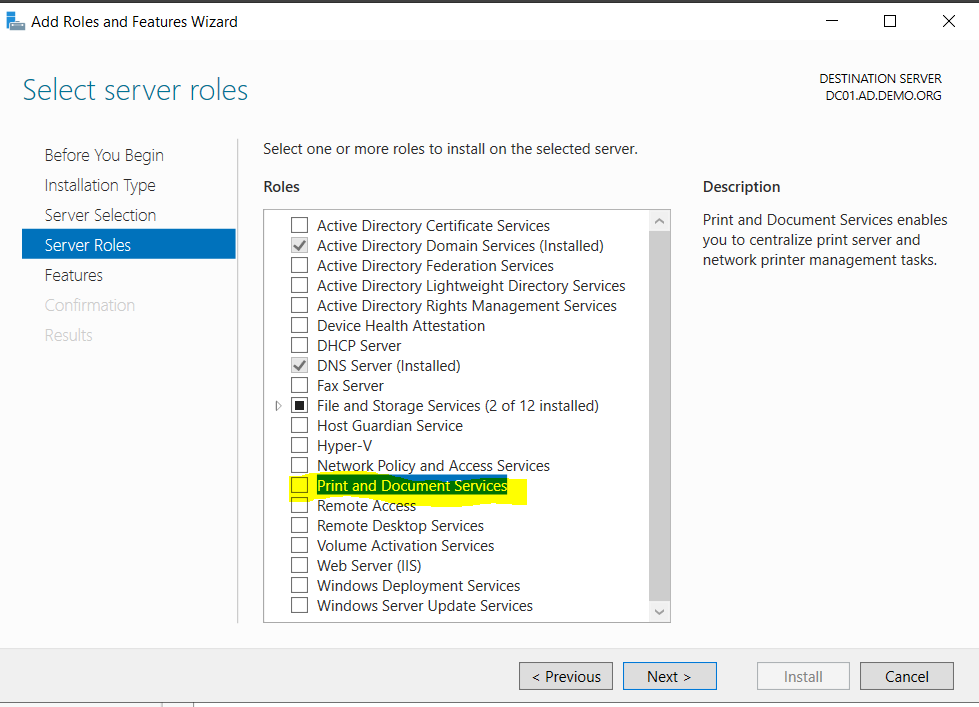
Proceed through selections to Server Roles and choose Print and Document Services. Tick that box.
Choose Next (accept defaults) until you reach this dialog:
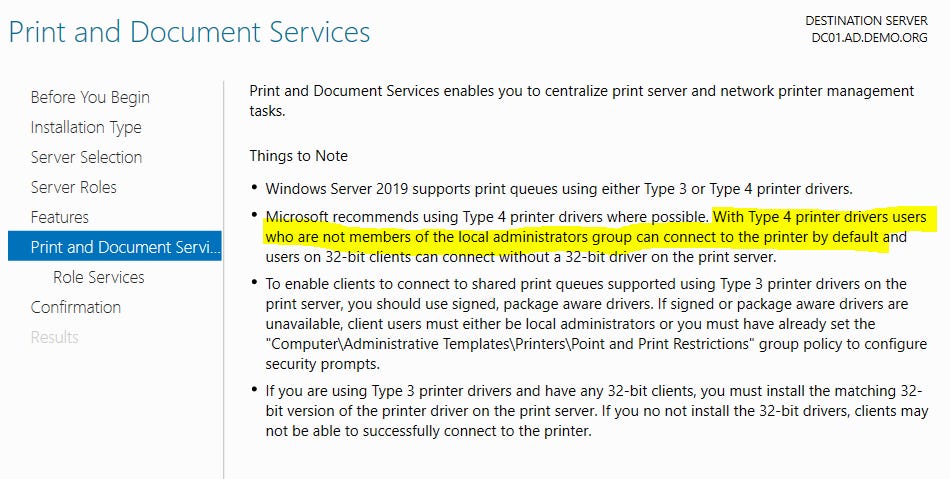
Understand that the dialog above means Type 3 drivers won’t automatically install on clients unless a local admin installs them. Type 4 (crappier) will install automatically. Click Next.
Tick the box Print Server (probably is ticked already).
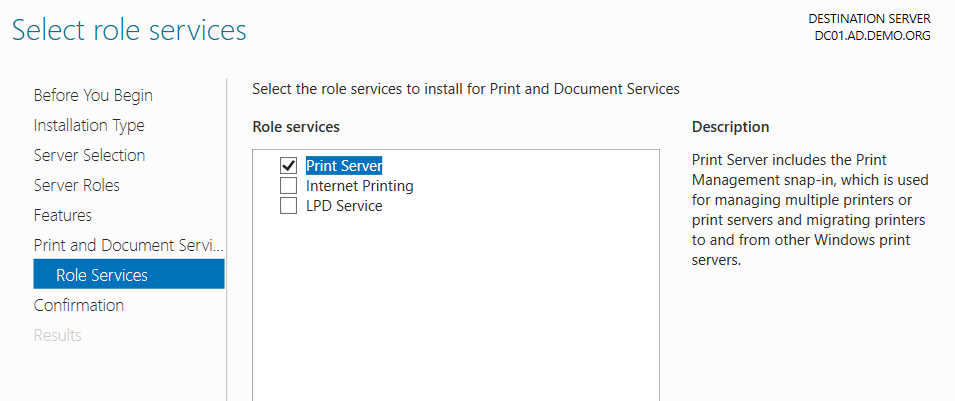
Choose Install.
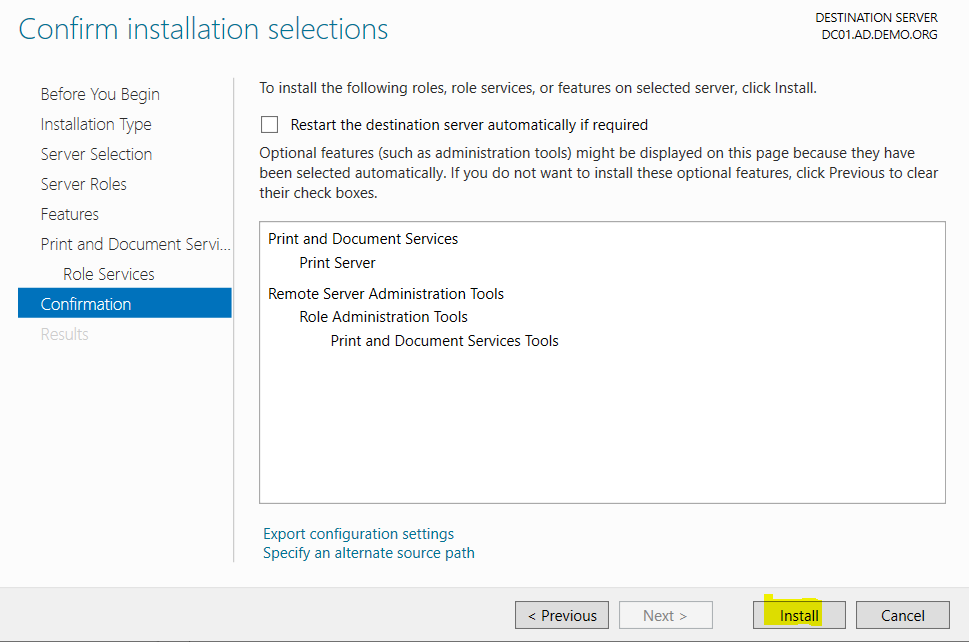
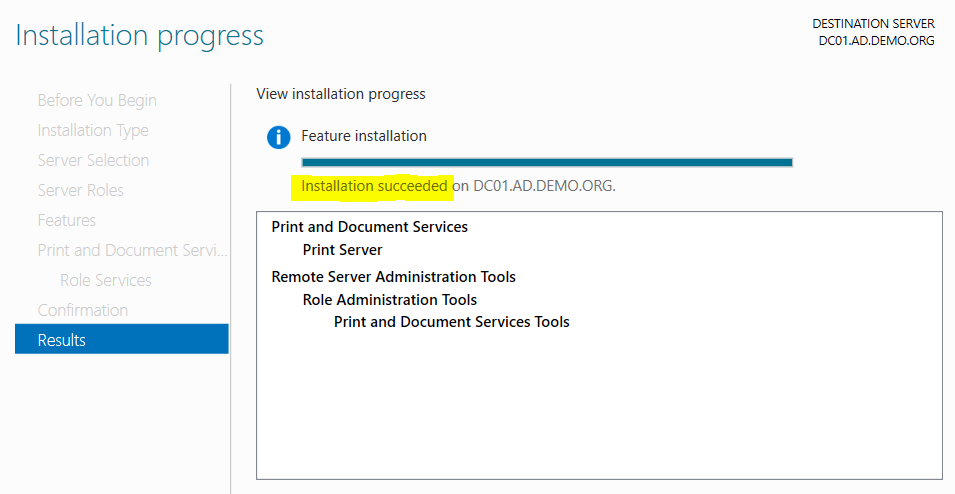
Success!
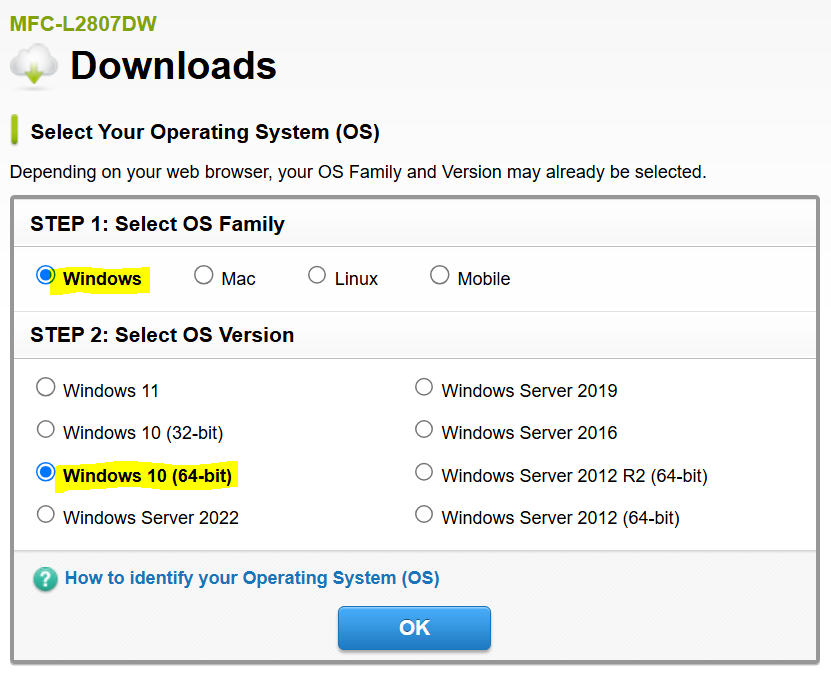
Obtain and place Printer Drivers on the Print Server. In the example, we have a
Brother MFC-L2807DW with IP Address 192.168.0.152 (and it responds on the web at http://192.168.0.152/ so we know it works. Be testing whenever you can!).
We only want the Printer Driver, not all Brother management stuff.
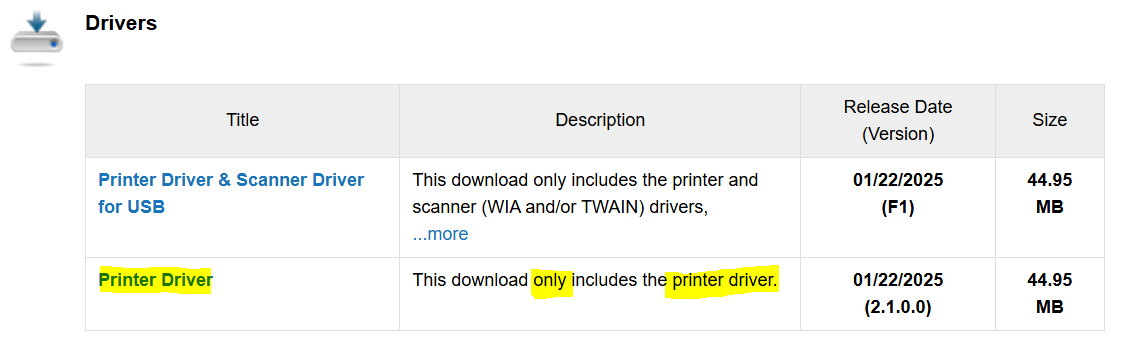
My download is highlighted. I ran it and it added the drivers to the driver store.

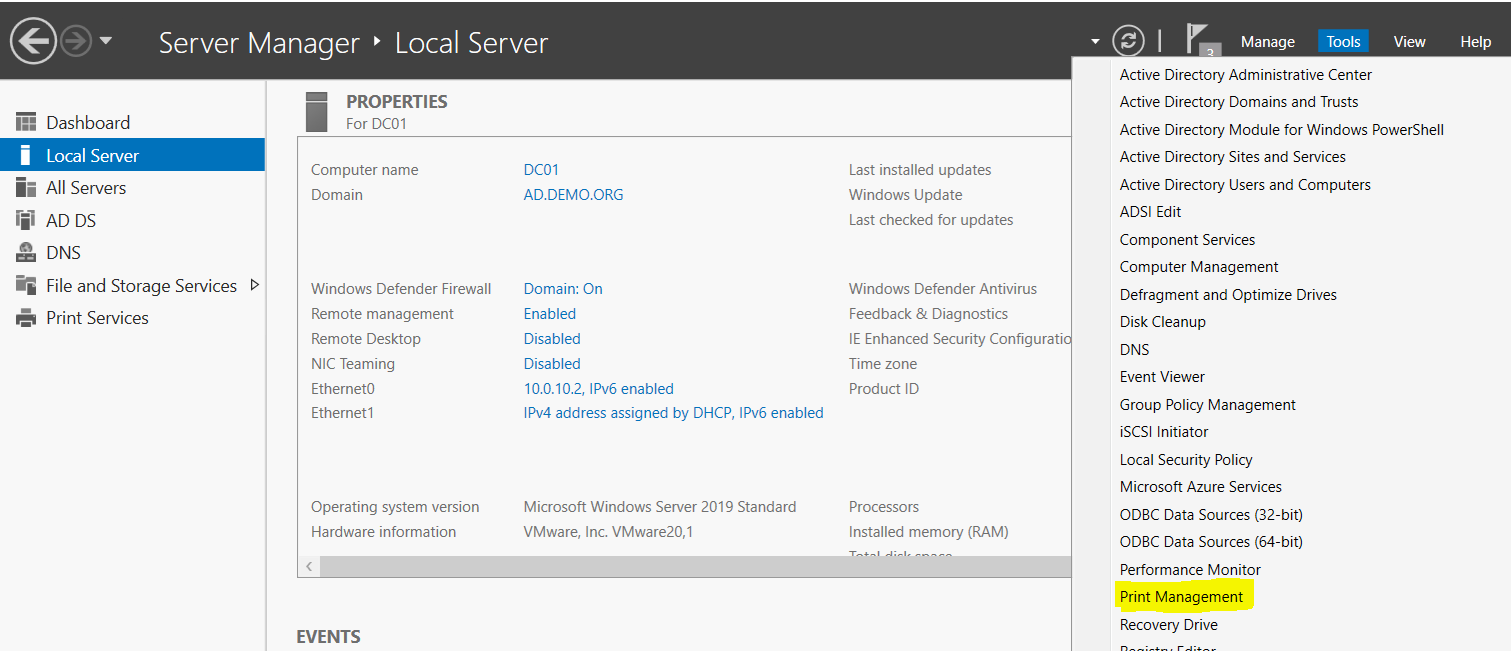
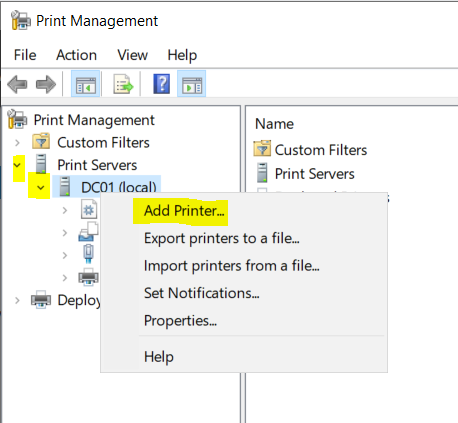
Open Print Management.
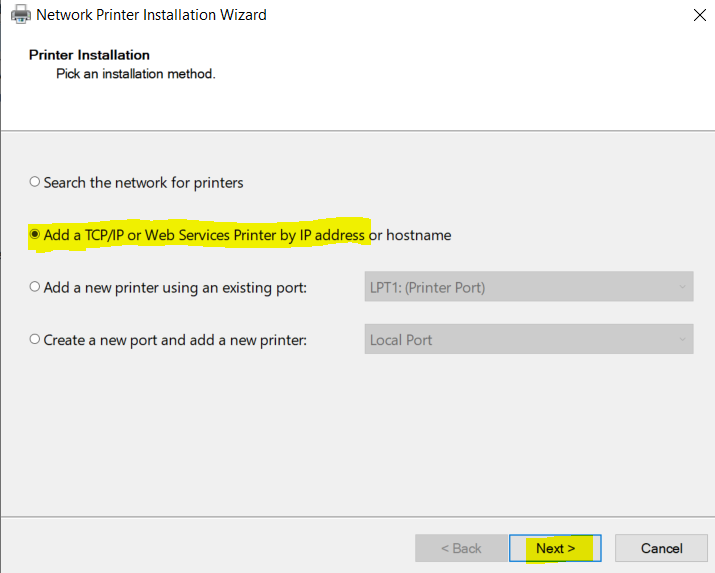
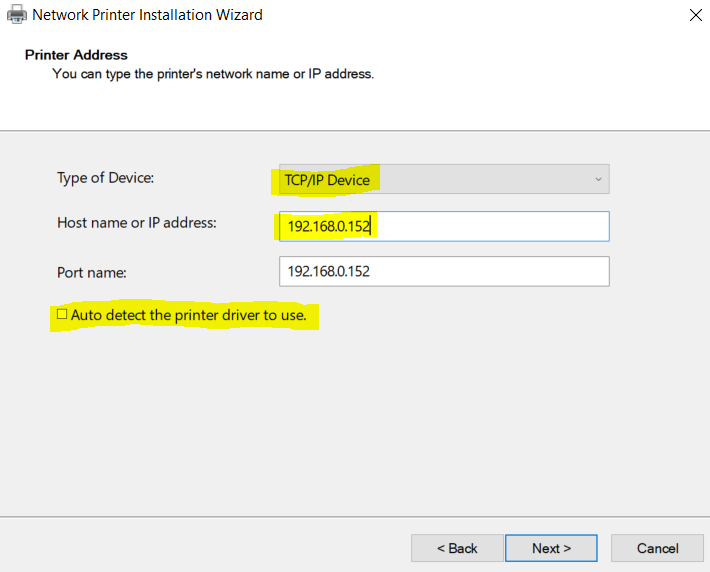
In the Printer Address dialog, you need to change most of it. Choose TCP/IP, Add just the IP of the printer, The port should autofill, uncheck Auto detect. Choose Next.
If your driver installed earlier, it may be a choice now. Otherwise, install it as new.
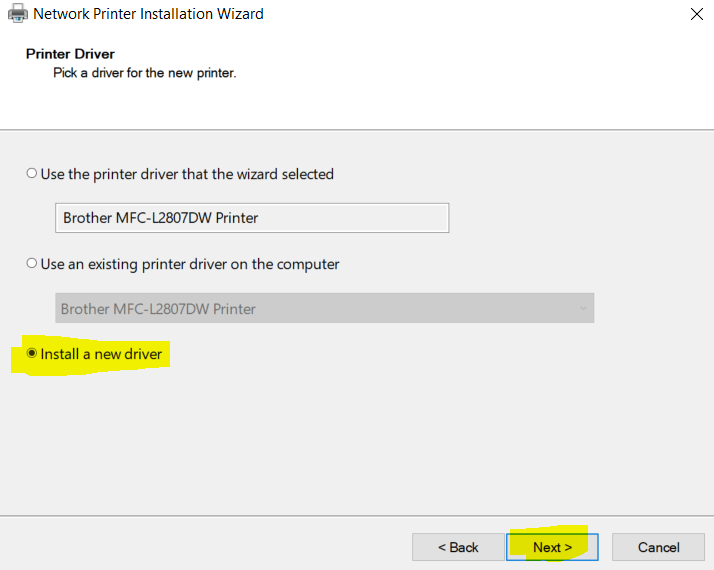
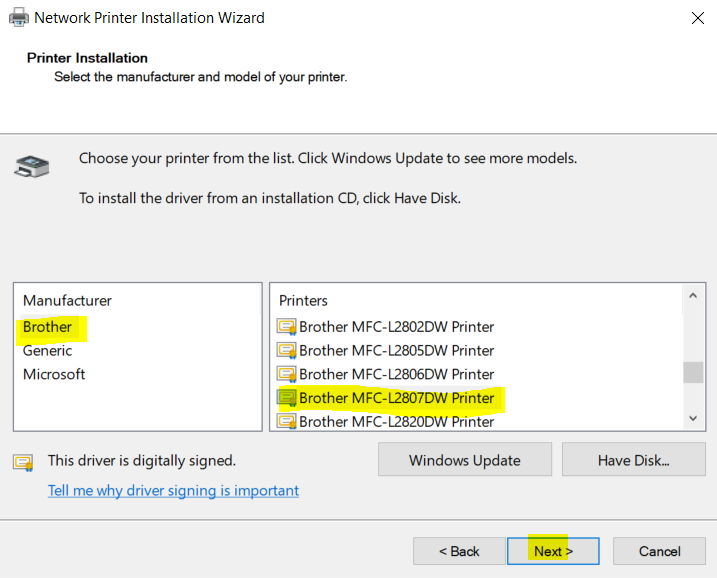
If installing as new, choose it here.
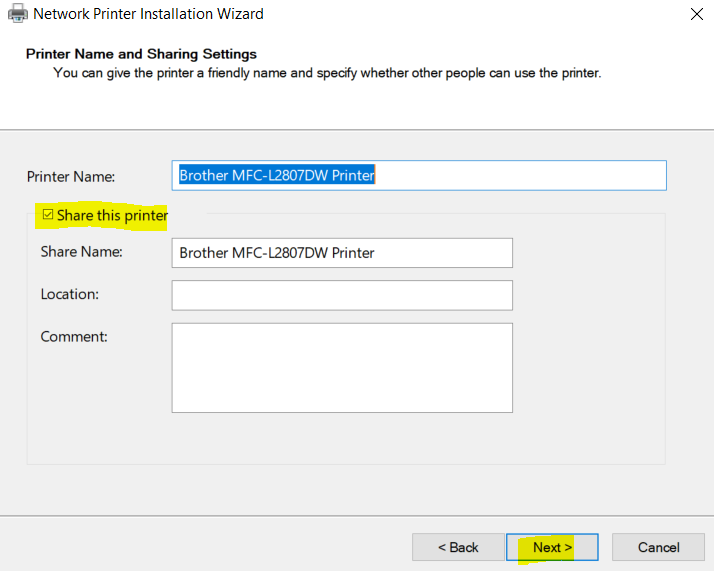
Choose to Share this printer.
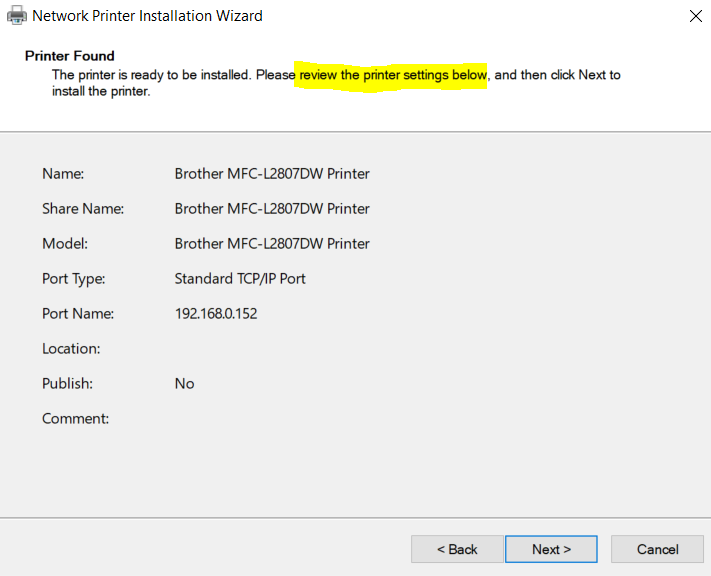
Review the choices. Click Next.
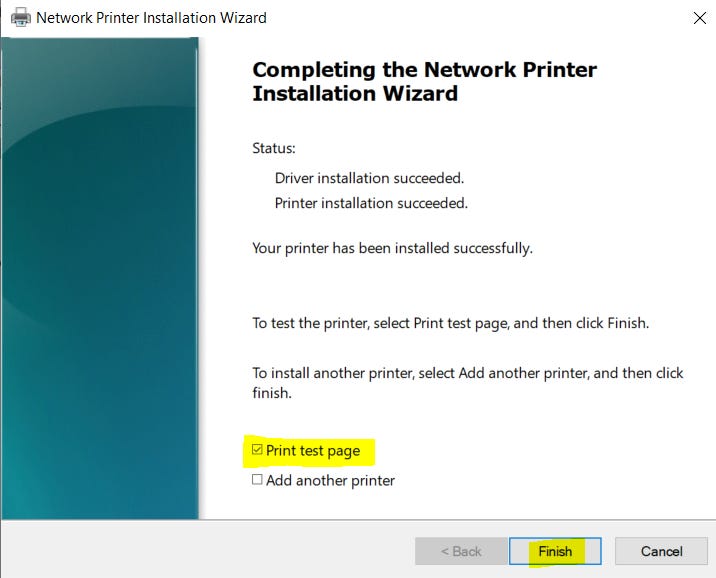
Print a test page and Finish.
Finally, List it in the AD Directory:
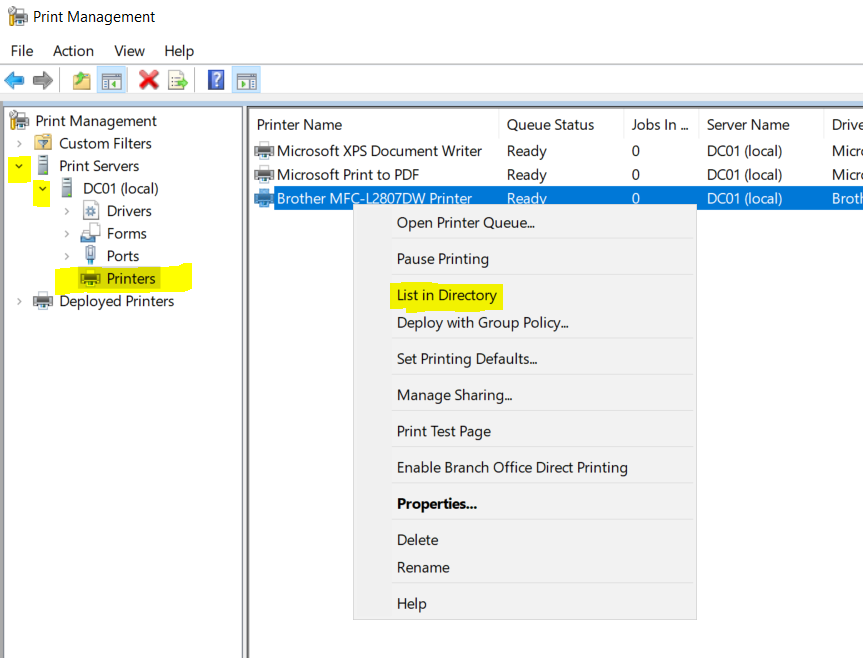
Check Properties of the printer and confirm the setting for List in directory. If you have a mixed environment (32 vs 64 bit), add additional drivers.

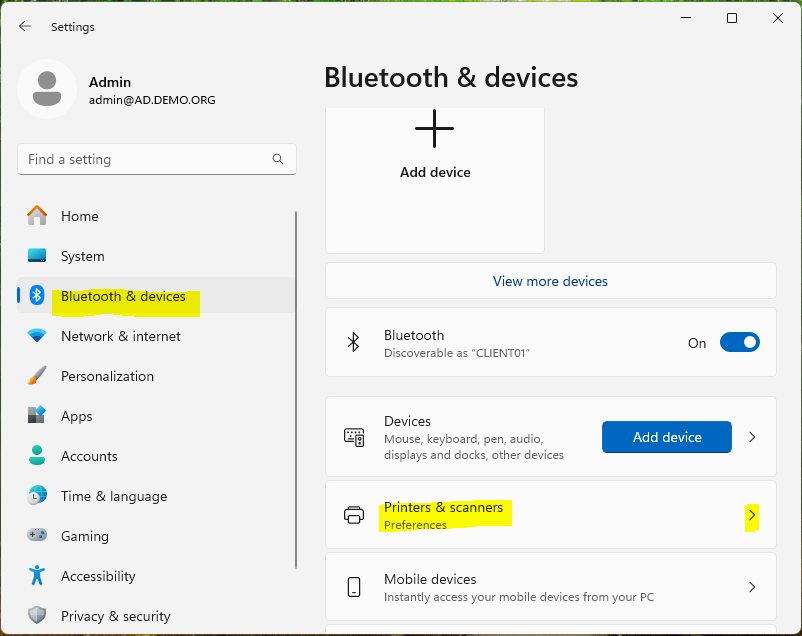
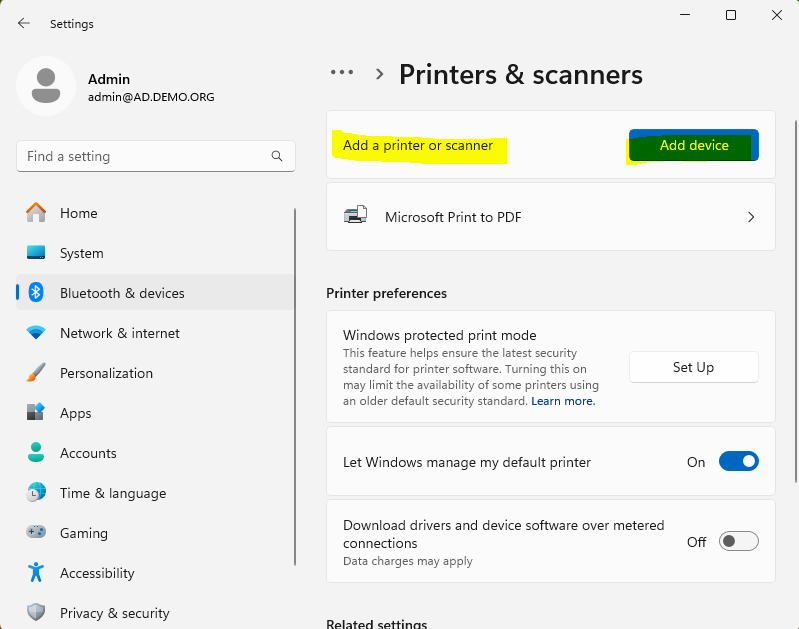
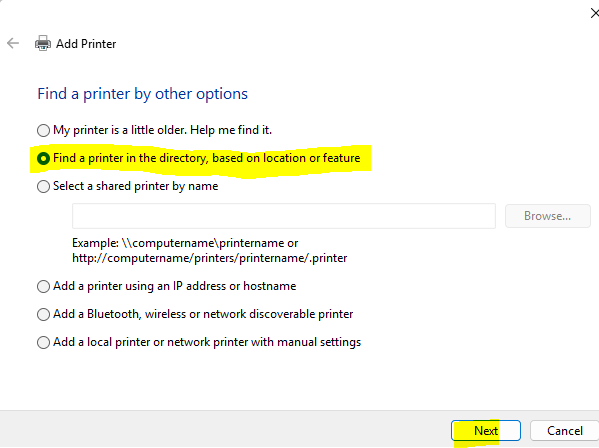
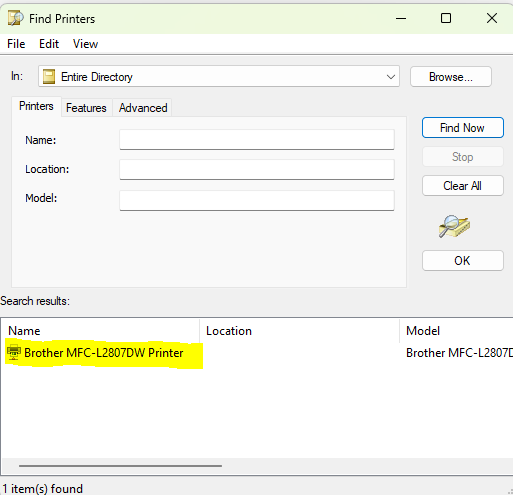
On a client, you can now locate and add the printer.
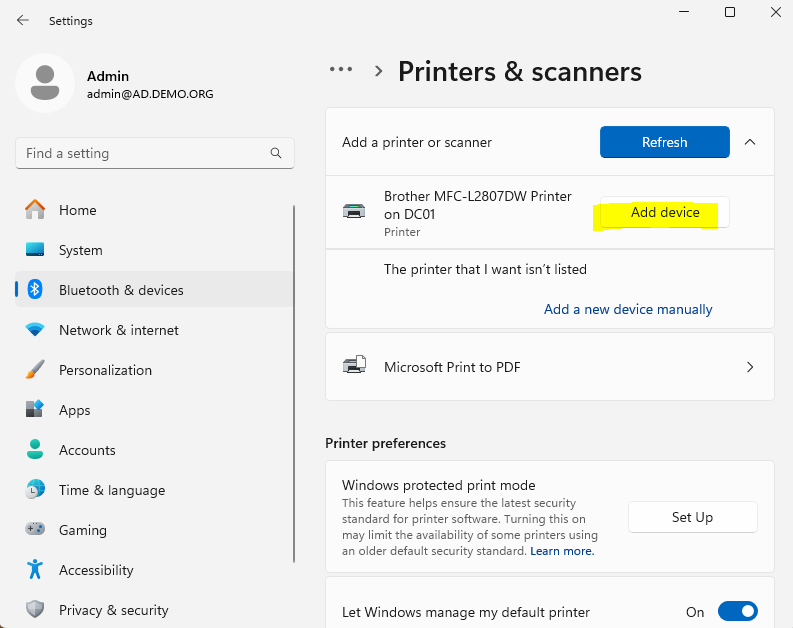
or
Result:
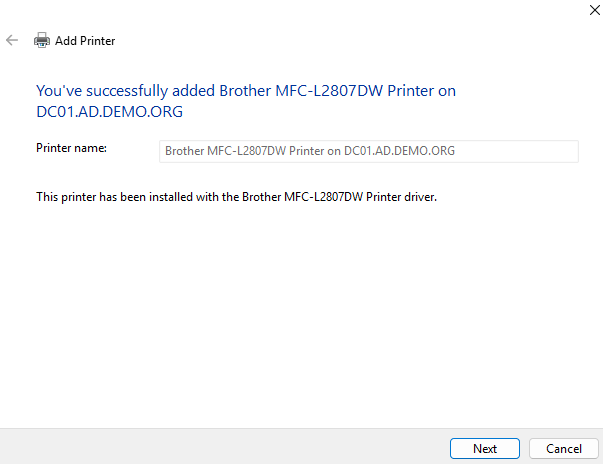
Print a test page.

In the below post, we’ll do a walkthrough on deploying printers by Group Policy.
Deploying Printers in AD by GPO

This walkthrough builds off of my previous walkthrough. If you haven’t already, create a Printer Share in AD.