Deploying Printers in AD by GPO

This walkthrough builds off of my previous walkthrough. If you haven’t already, create a Printer Share in AD.
Printer Sharing in AD Walkthrough

Choose a server to be your Print Server. In real life, I would not add it to a Domain Controller. This is a lab, so DC it is! Add the role as follows:
There are a few ways to do this, but I’m going to stick with what I know. In my previous environment, we had over 1000 printers (and 100 copiers) shared to 5000 machines, based on computer group membership. There are better paid solutions, but you already own AD, and there aren’t better free solutions.
We’re going to use Group Policy Preferences to add a Shared Printer.
When completed, you will add a computer to a group, and the computer will get the printer automatically. The GPO we create will need to be in the computer OU path for the intended computer.
If all of your computers are under one computer OU, you can use just one GPO. If you have several computer OUs, you may need a GPO for each Computer OU.
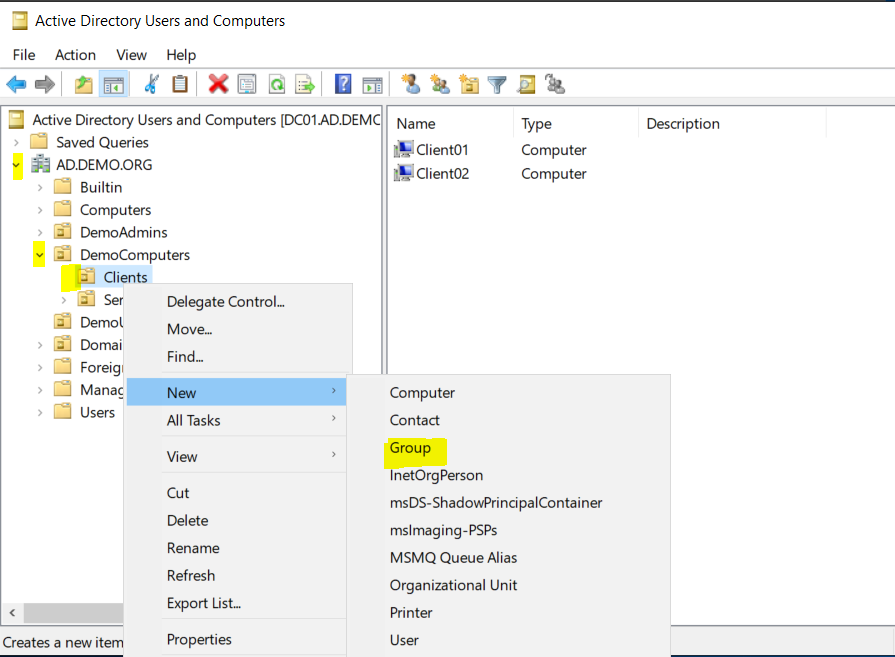
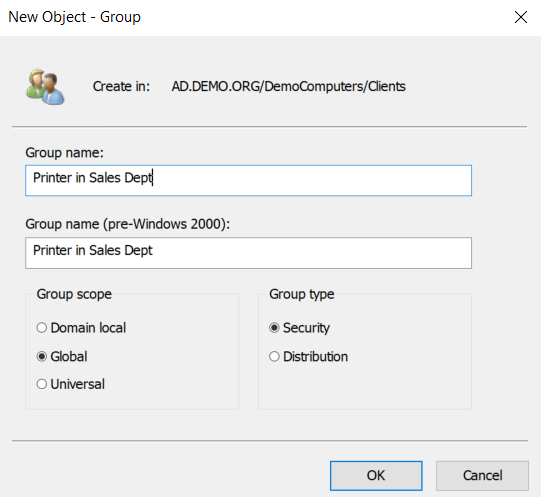
To get started, open ADUC (Active Directory Users and Computers). You’re going to create a security group for your printer share. Where you put it is up to you. Groups don’t care where they are located. I put them where it makes sense to me in terms of staying organized. In my lab demo, I’ll put computer groups with computer objects. When naming the group, give it a name that is helpful in identifying the printer. My demo printer will belong to Sales, so I’m going to name the group ‘Printer in Sales Dept’.
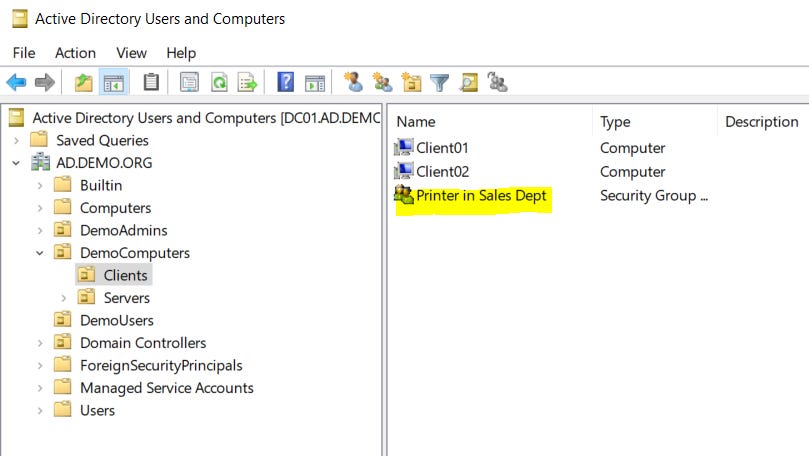
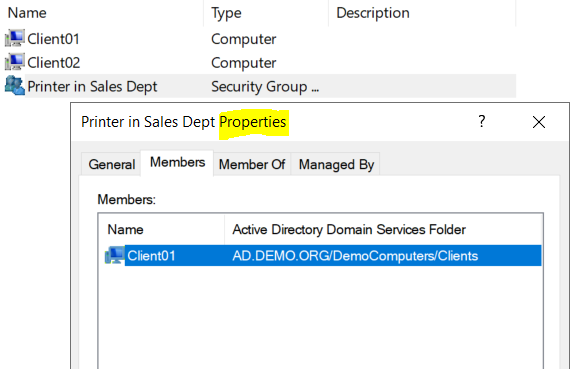
Here is the result:
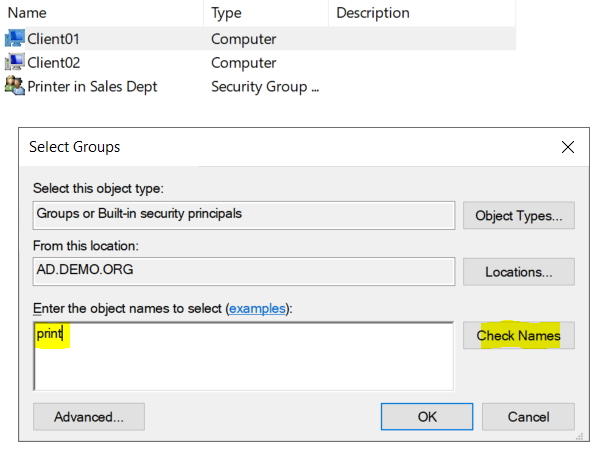
Now I’ll add Client01 to the group so they will get the printer.

I type in ‘print’ and click Check Names.
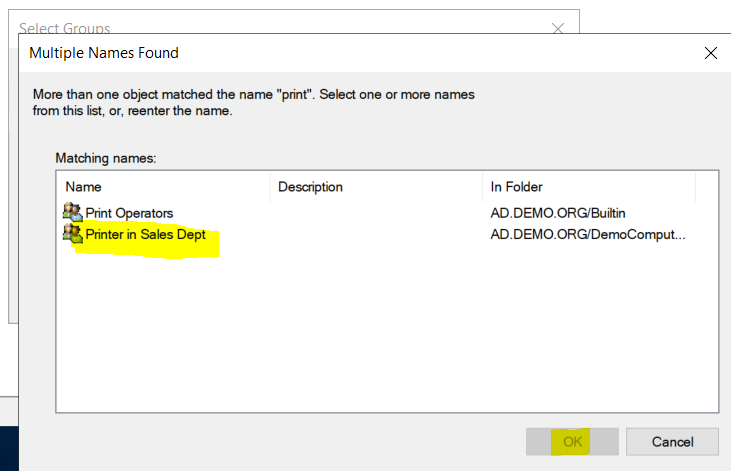
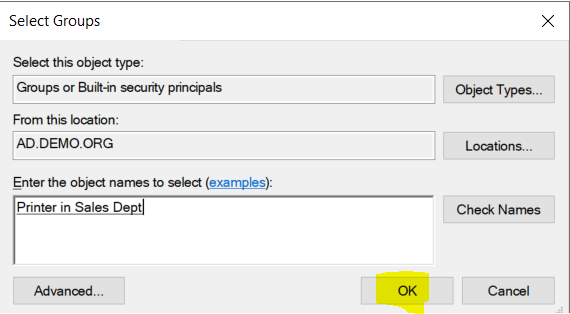
I choose my group.
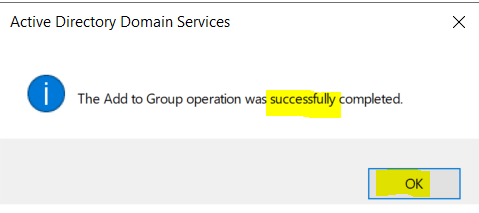
You can check group properties to confirm.
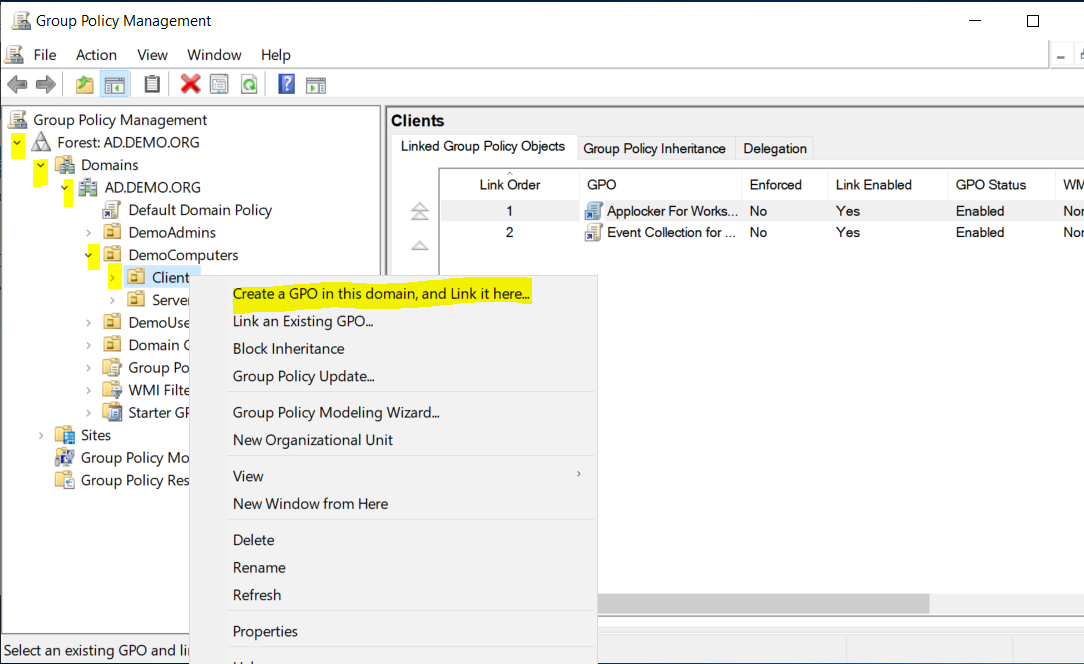
Next we create our Group Policy Object. It must be in the folder path of the target machines. In our demo, it could be in the Client folder, or the DemoComputers folder. Just right click on the folder and choose Create a GPO…
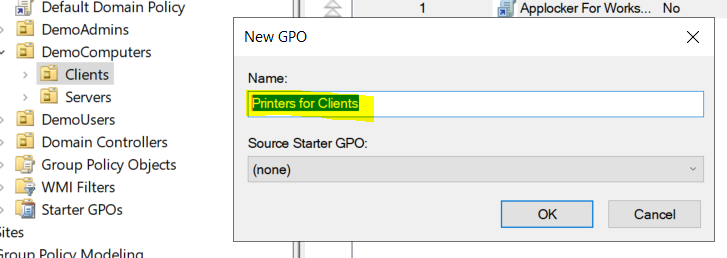
Give this GPO a name. Keep in mind that this policy can be for more than one printer. I chose ‘Printers for Clients’ because I may add other printers to it.
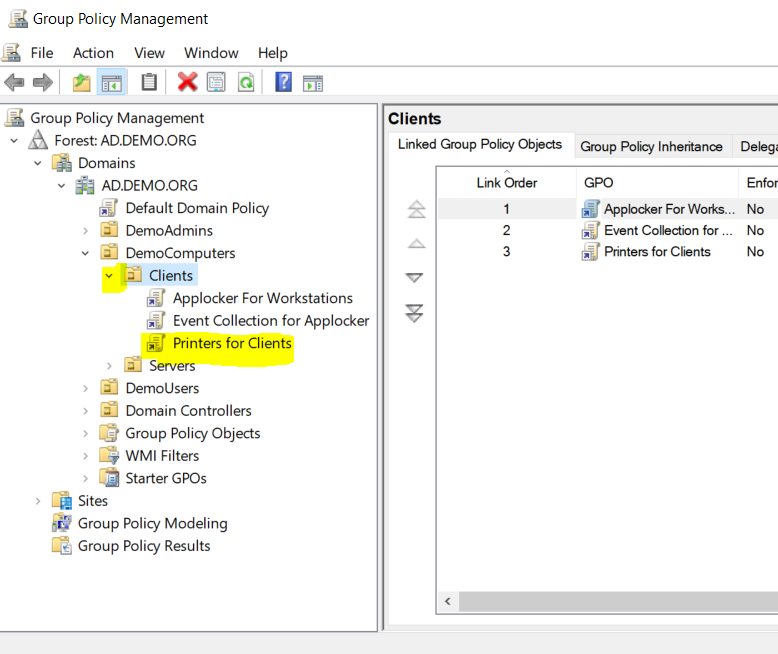
Result:
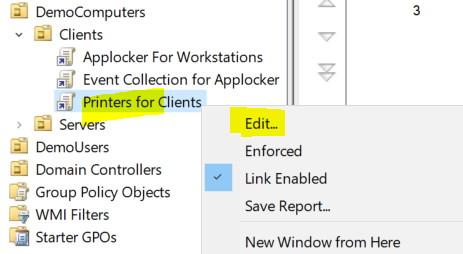
Now we will edit the policy. Right click on the policy name and choose Edit.
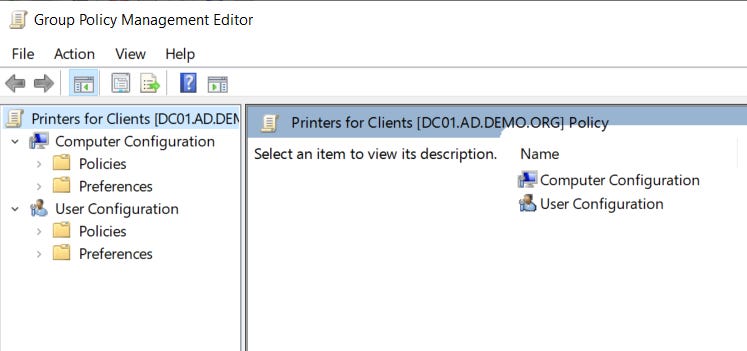
Here is what you should see:
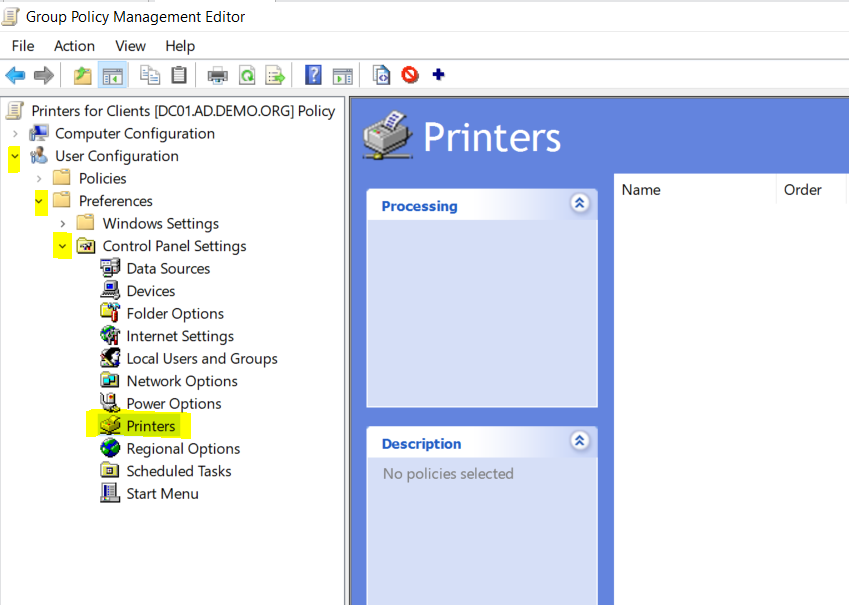
Like I said earlier, we’re going to use Group Policy Preferences. In Group Policy Preferences, you’ll find an option for ‘Shared Printer’. This is what we want. It is the most flexible.
HOWEVER
It doesn’t exist under Computer Configuration. This only exists under User Configuration. Go check!
Normally, it you are targeting Computers, not Users, you do everything in the Computers section of the GPO. This is one of those times when you can’t. Instead, you’re going to take advantage of Loopback Processing.
Loopback processing is a feature of Active Directory Group Policies that allows user policy settings to be applied to specific computers, regardless of where the user account is located in the Active Directory. This means that when loopback processing is enabled, user settings from a GPO linked to a computer's OU are applied to all users who log on to that computer.
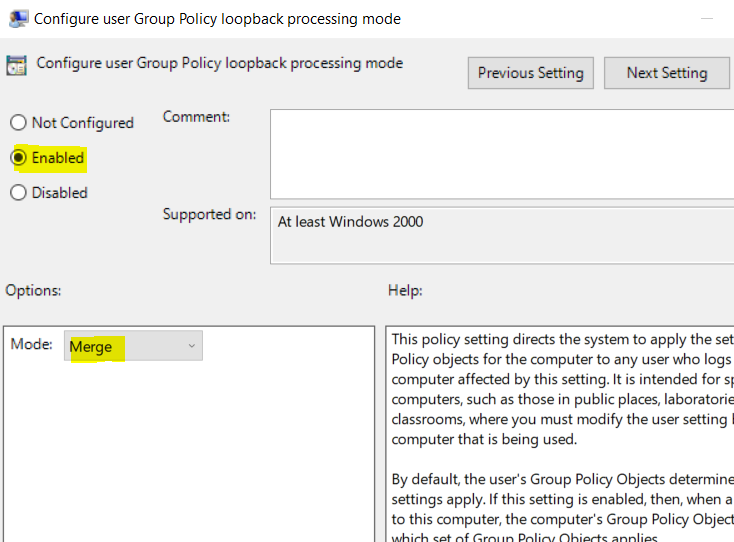
So first thing is to turn on Loopback. That is under the Computer section. Look in
Computer Configuration>Policies>Administrative Templates>System>Group Policy
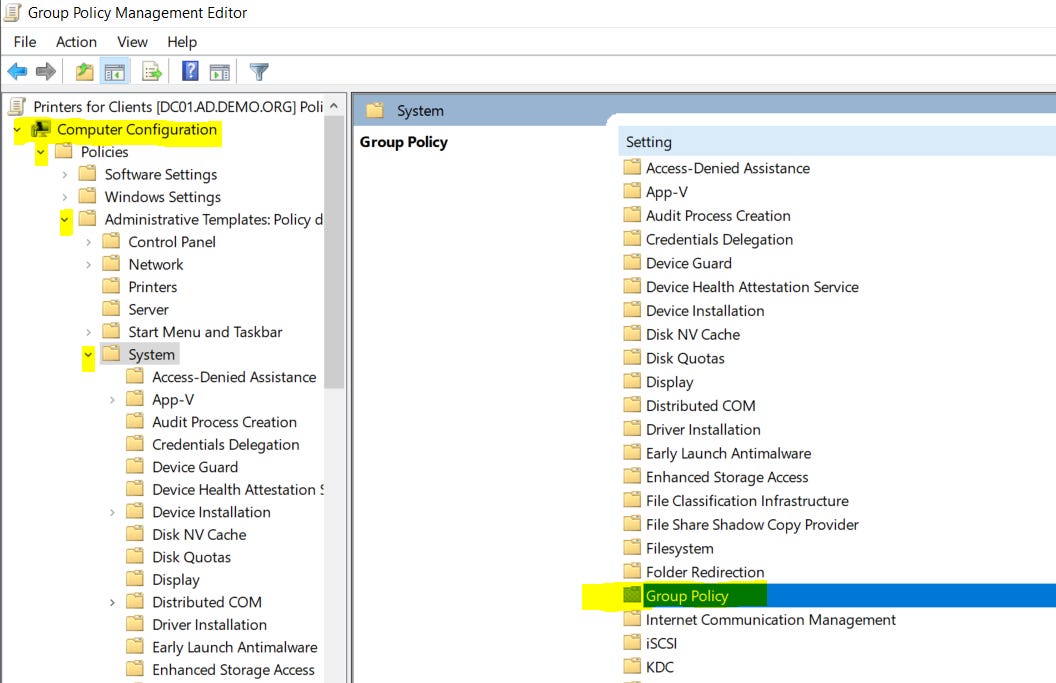
For ‘Configure user Group Policy loopback processing mode’.
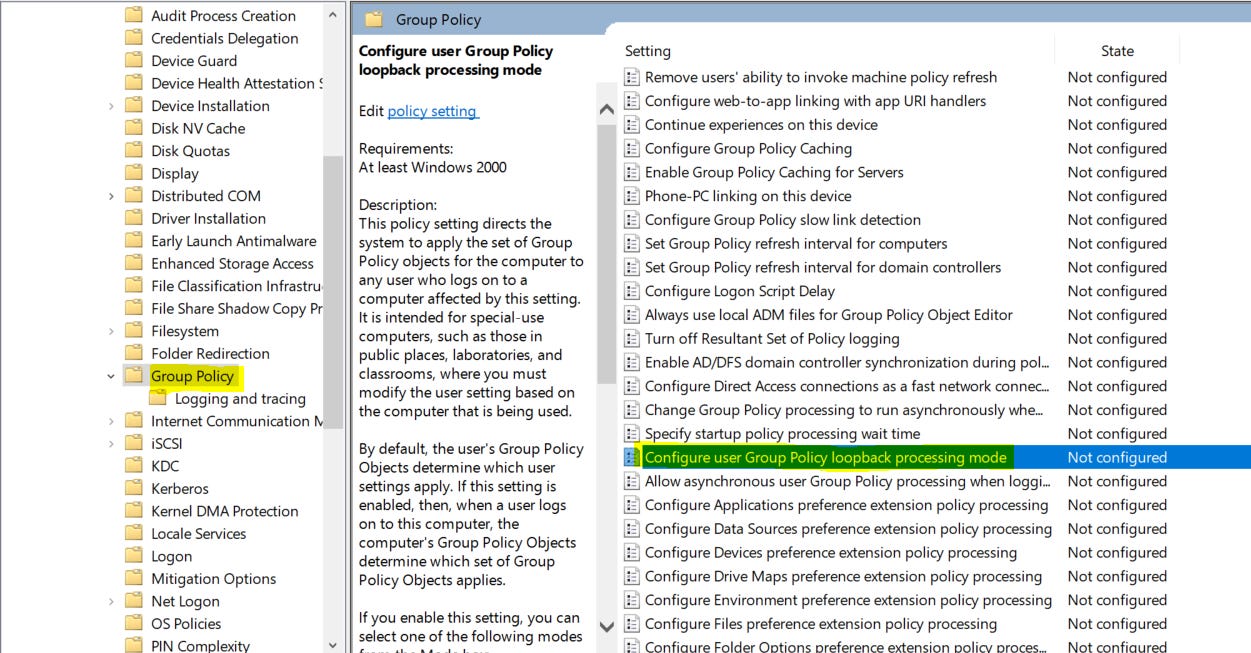
Edit as follows (Be sure to click Apply or Ok):
Now we’ll work on adding the printer! Go here:
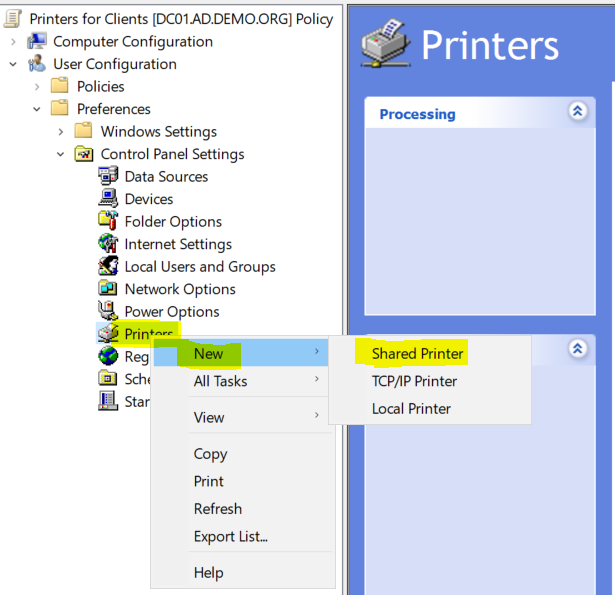
Right click on Printers, choose new, Shared Printer.
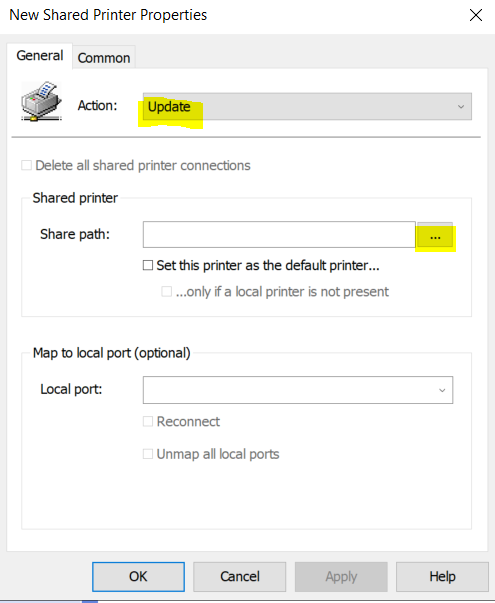
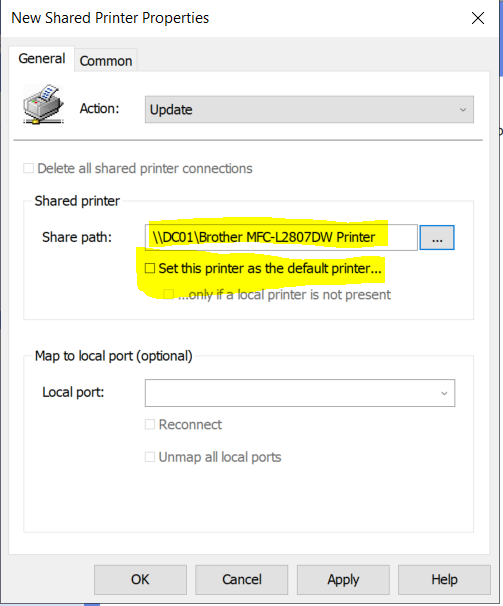
On the General tab, set Action to Update. For Share Path, click the three dots
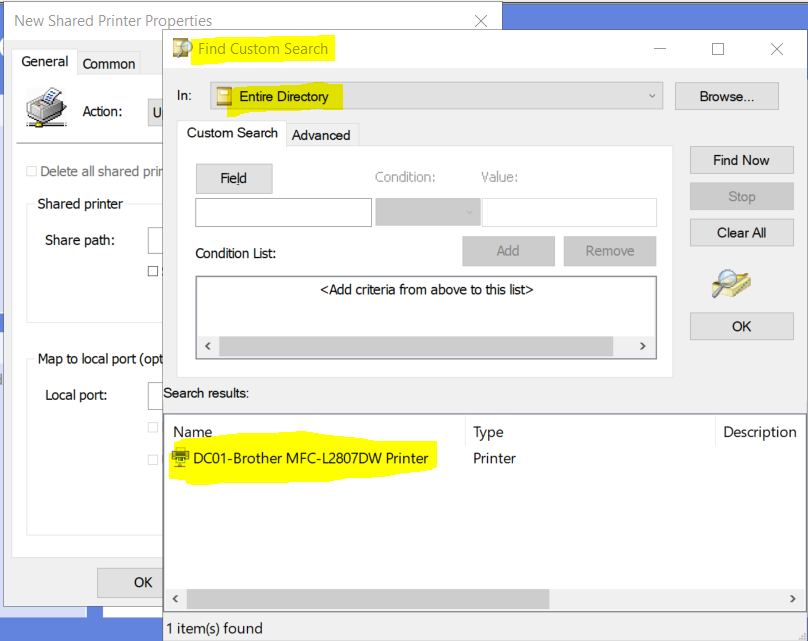
Your Shared Printer should be in the list, provided you chose to list in Directory. See the prior guide if you didn’t list in Directory.
Choose your printer:
After choosing, you’re back to the dialog below. You can elect to make this the default printer if you want. If you do, the user will be unable to select a different default.
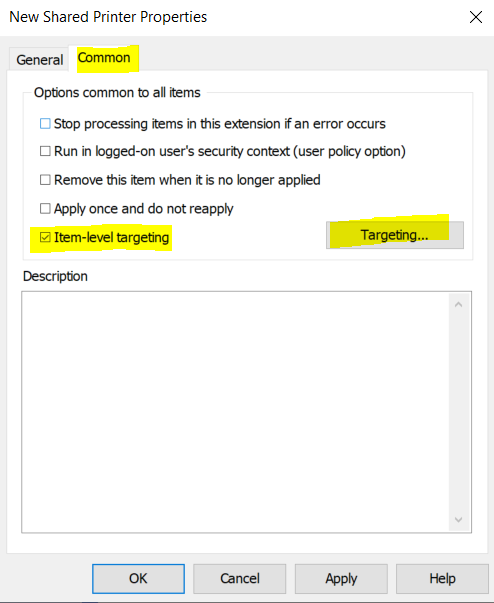
Next, Click the Common tab. Tick the Item-level targeting box, then click the Targeting button.
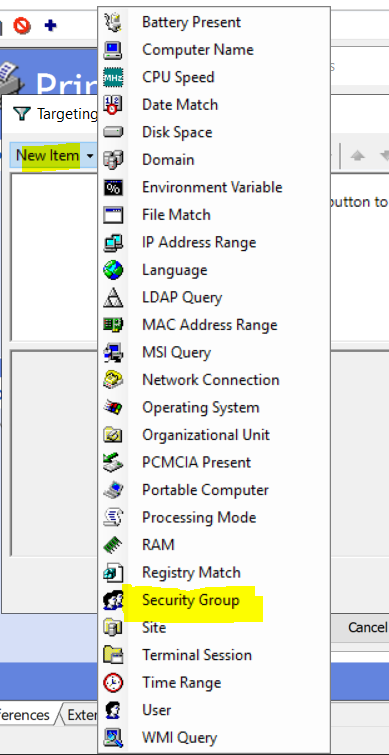
You are now in the Targeting Editor. Click New Item.
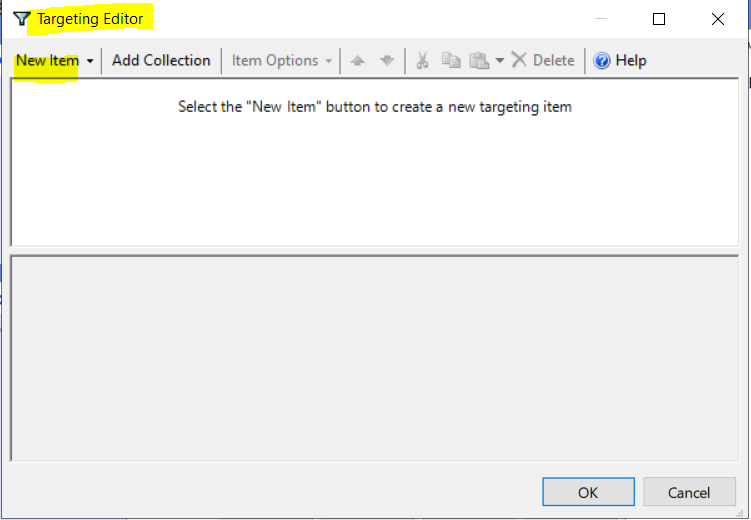
In New Item, choose Security Group.
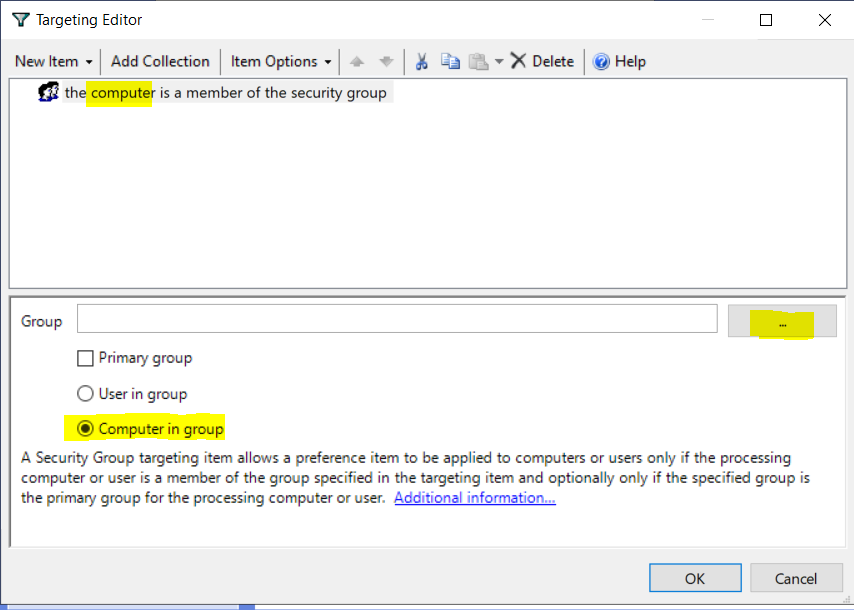
Choose as highlighted for Computer rather than User. Then click the three dots to find your group.
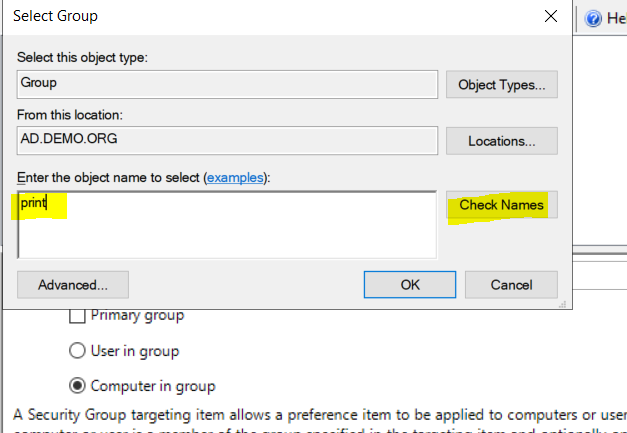
Type the beginning of your group name. Mine is ‘print’. Then Check Names.
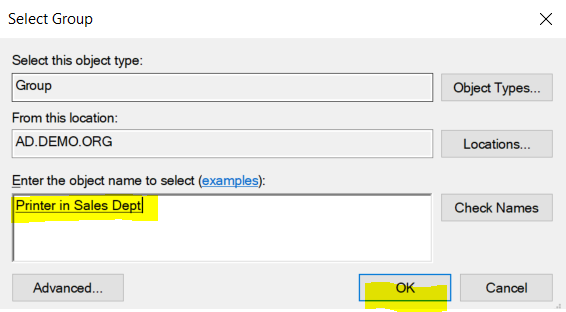
It should complete the name. Click OK.
Check that it resembles this, then click OK:
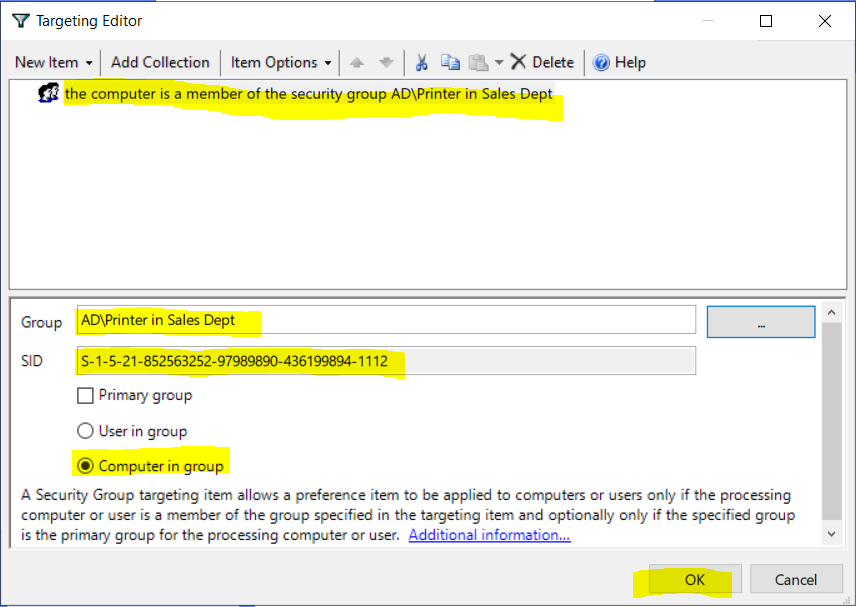
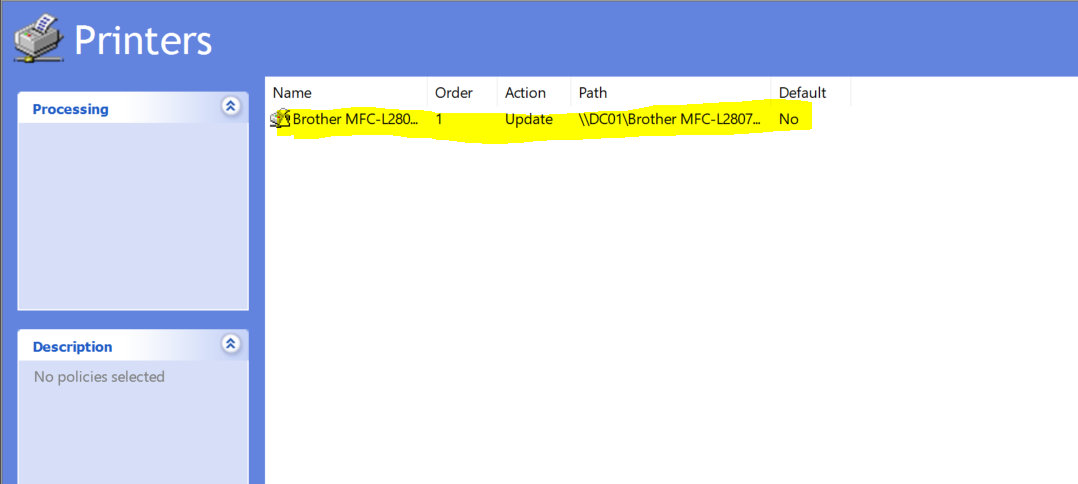
Click OK to accept and add the Printer. The result:
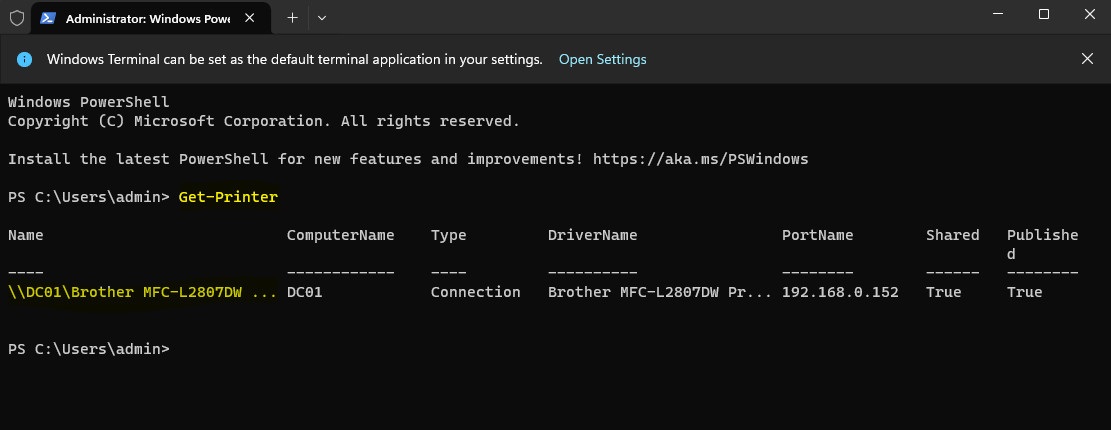
Your printer should appear on clients after a reboot (maybe two).
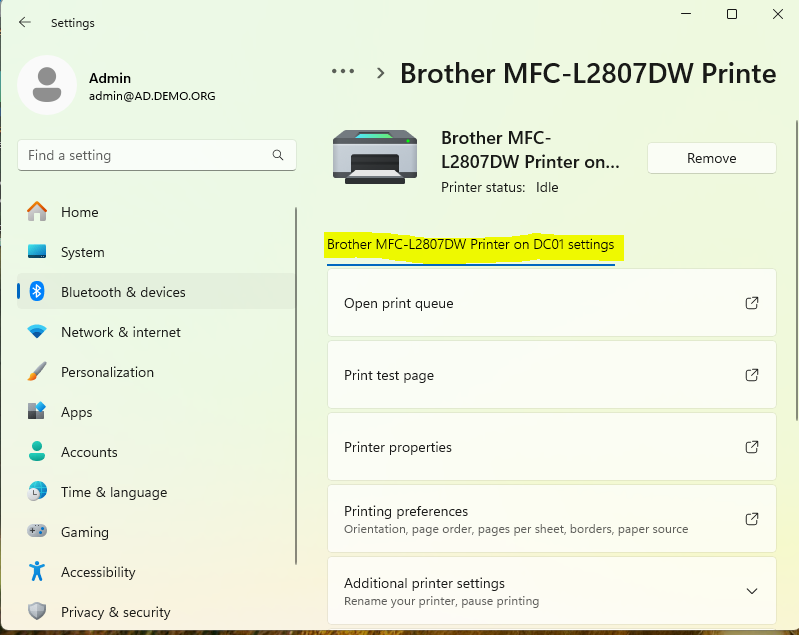
Windows 11 is wonky on showing printers sometimes. You can use PowerShell to tell for sure: