


2SQL - In Depth

Web Design and Product Documentation are not my strong suit, so it is what it is.
There are two ways to use 2SQL.
Method one is used when you don’t care about reusing your work. In this method, you can just drag and drop data files straight to the program window. Then you make and run your queries. If you’re doing a one off job, this is the quickest way.
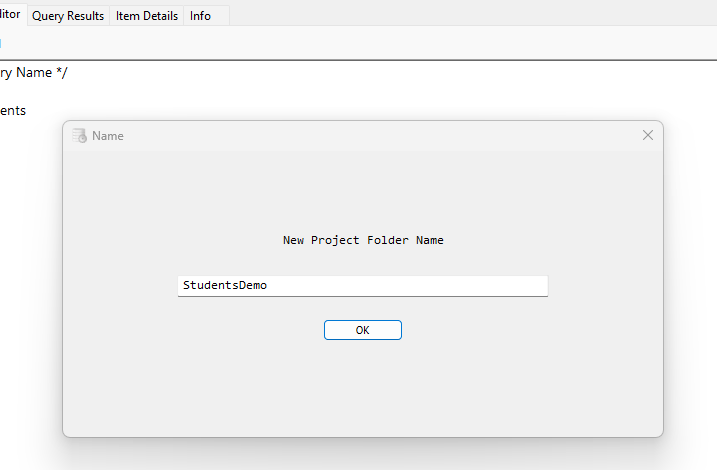
Method two is used when you will be reusing data, queries, and results. In this method, you first create a Project Folder.
Project Folders
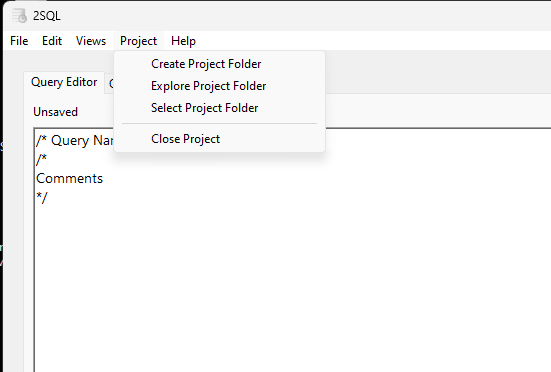
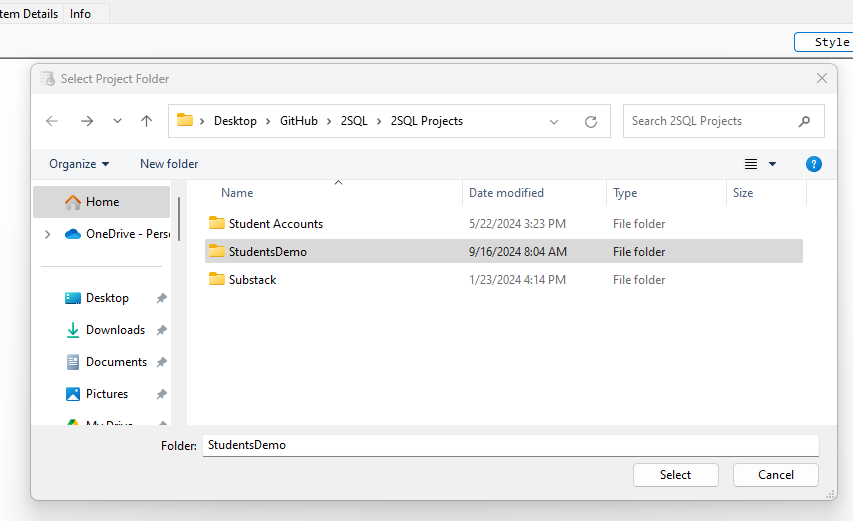
Once created, you can choose to Select Project Folder to use it. To select it, highlight the folder, then click the Select Button.
When a Project Folder is selected, the path is shown as seen here
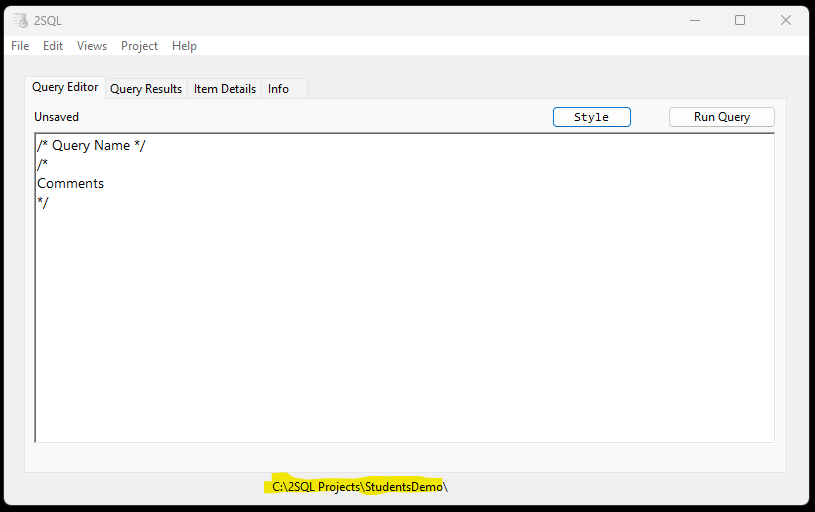
At this point, File Menu items are directed to your Project Folder
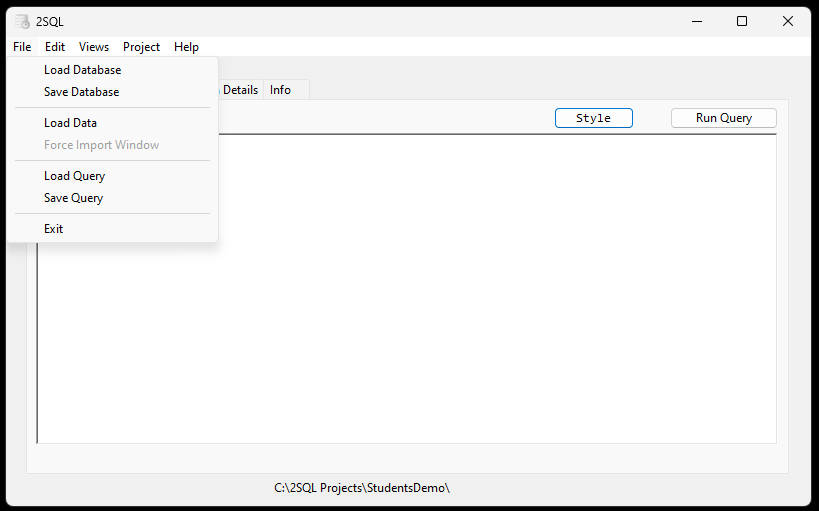

The Data Output folder is where Exports are saved.
The Data Sources folder is where your source data, or even shortcuts to source data, are kept.
The Documentation folder is where you can keep notes.
The Queries folder is where Queries are saved.
TIP…. You are able to use shortcuts to data. That means you do not need to copy data to the Data Sources folder, each time it is updated. Simply place a shortcut to the live data in the Data Sources folder.
TIP…. The easiest way to create a shortcut in Data Sources is to drag and drop the live data file to the program window. We will then put a shortcut in Data Sources automatically.
Import Windows
You can drag and drop files to the main screen as in Method One, or you can use the File Menu - Load Data to load files. In File Menu - Load Data, just multi-select all the data files (or shortcuts).
The first time a data file is used, you will get an import menu.
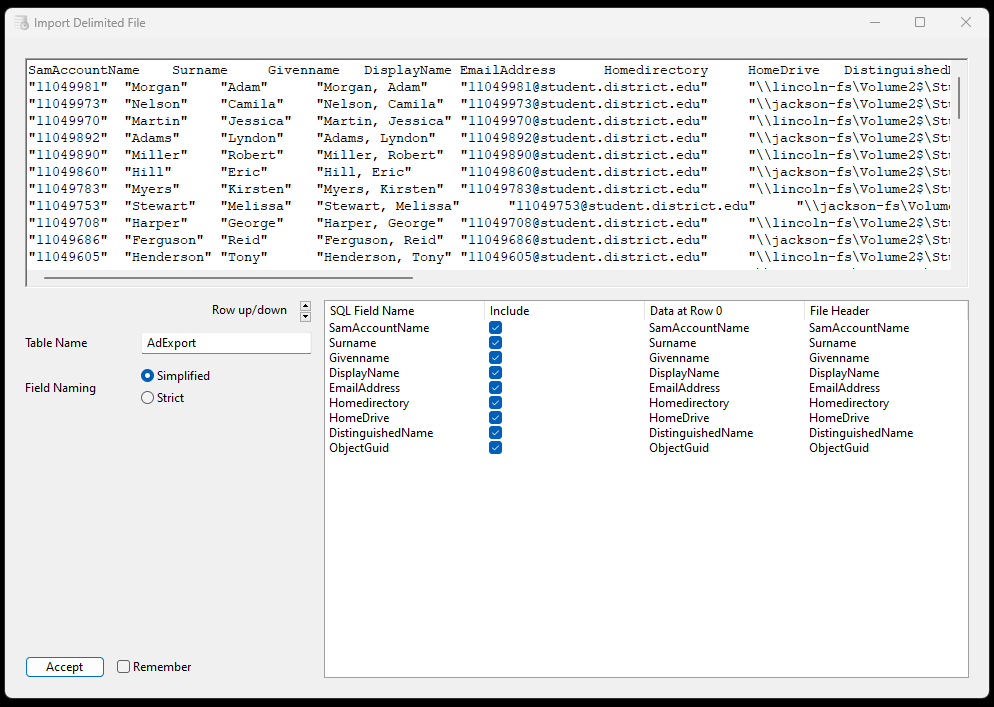
Make sure the Table Name is good, and Include boxes are checked for all the data you care about. In Method Two, a ‘Remember’ box is available. Check it, and the settings will be saved for reuse on this file.
Query Editor
Nearly all options are in the right click menu. Each Table and all of its associated fields can be selected this way.
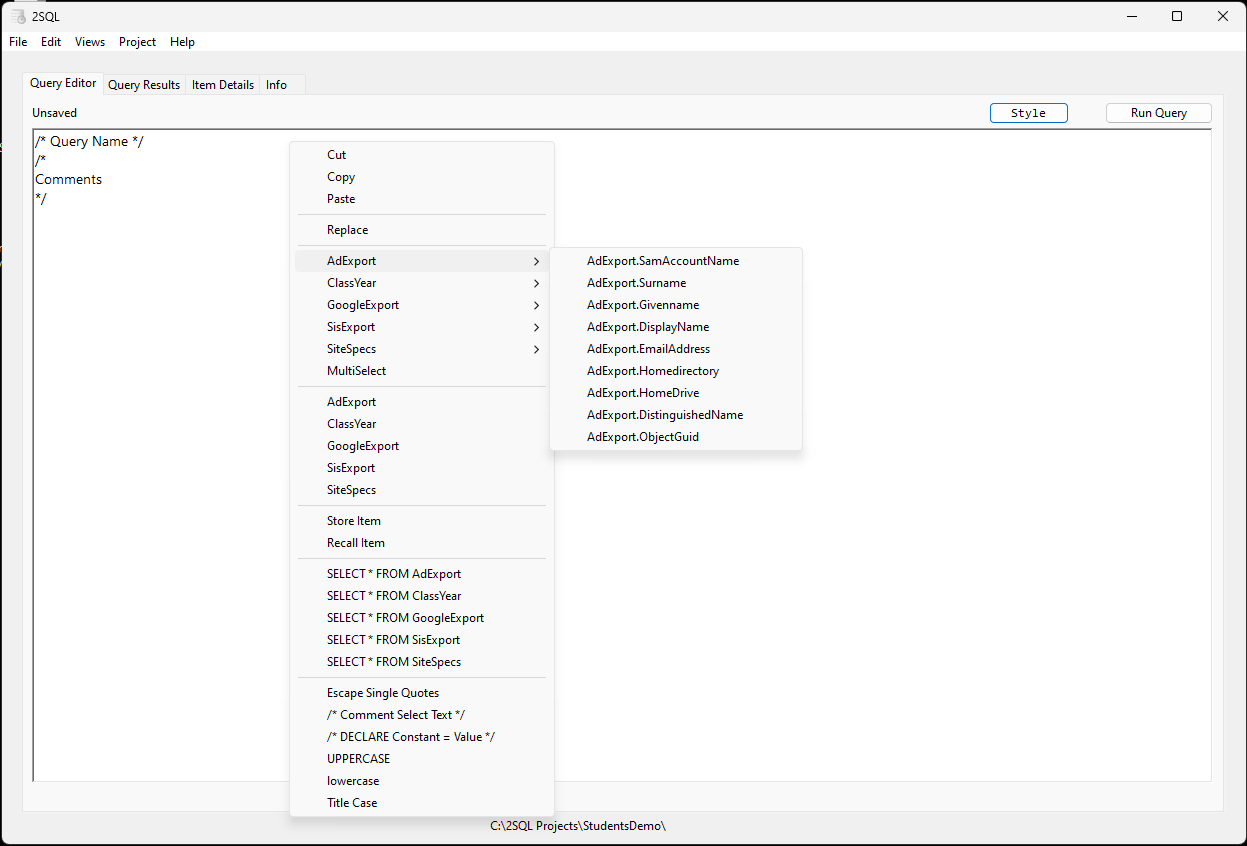
Items of note are:
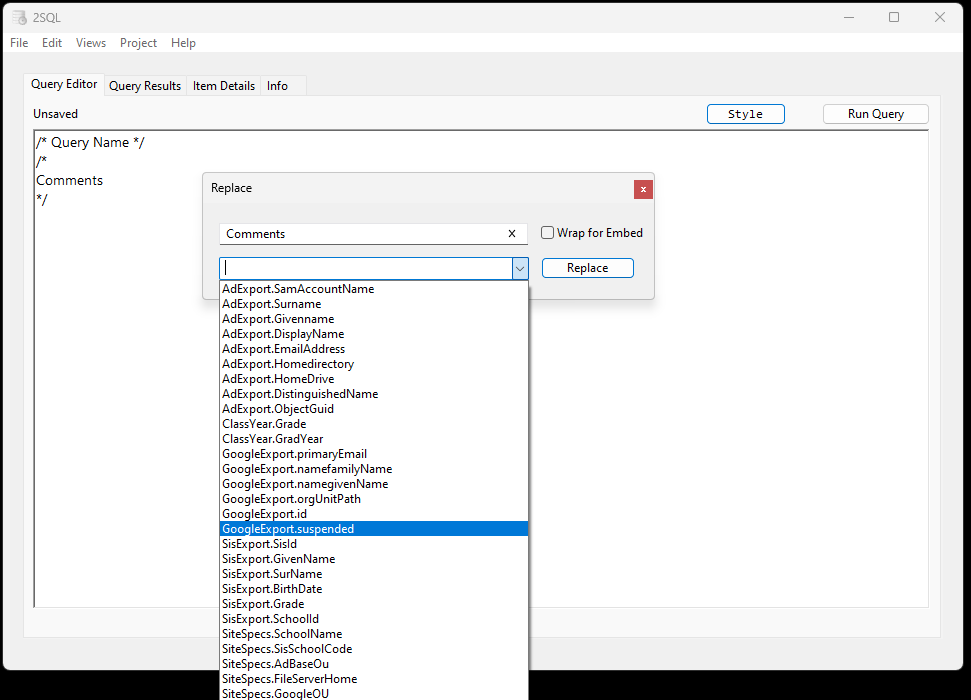
Replace - Replace will allow you to replace the currently highlighted text with whatever you type, or an item in the pulldown menu. The Wrap for Embed checkbox with wrap the selection in a way that allows you to replace a static entry with a field.
This feature is vital for converting a static command line to a dynamic script. A separate document will be created to fully explain how that is done.
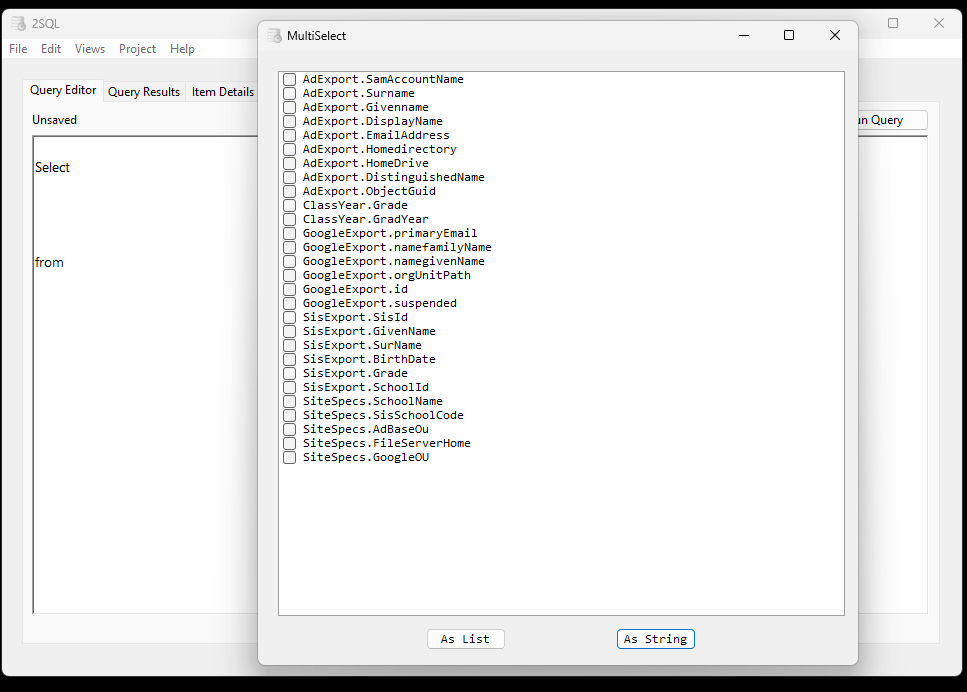
MultiSelect - MultiSelect gives you a checklist of fields. It is used when creating your Select list.
Anything checked will be added as a Select field.
Escape Single Quotes - Escape Single Quotes will add an additional single quote to any single quote text currently highlighted. This feature is also used for converting static command scripts to dynamic ones.
Comment Selected Text - Comment Selected Text converts anything selected into a comment that won’t be read by SQL.
/* DECLARE Constant = Value */ - DECLARE Constant = Value allows you to add a constant and use it in your query. /* DECLARE MyYear = 2024 */ would treat any instance of MyYear as 2024 . This is case sensitive.
Uppercase, Lowercase and Titlecase simply convert any highlighted text to that case.
Query Results
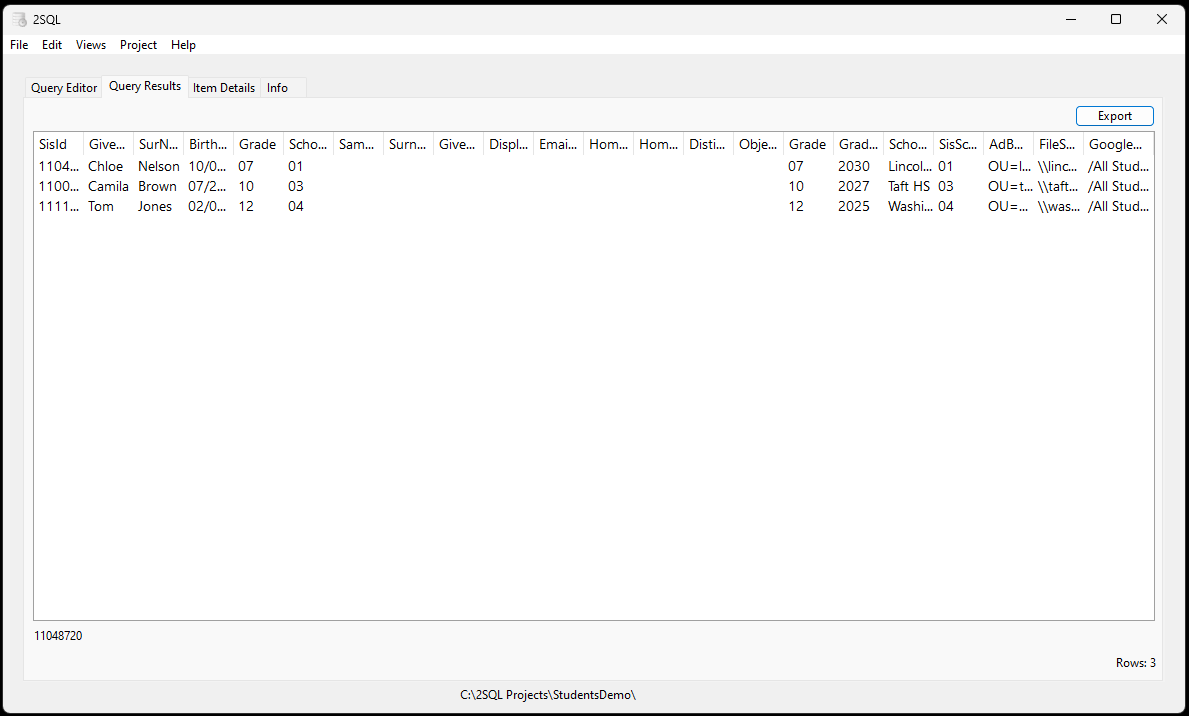
In a typical query you will get an output like this
In a query whose output contains carriage returns, you will get something like this
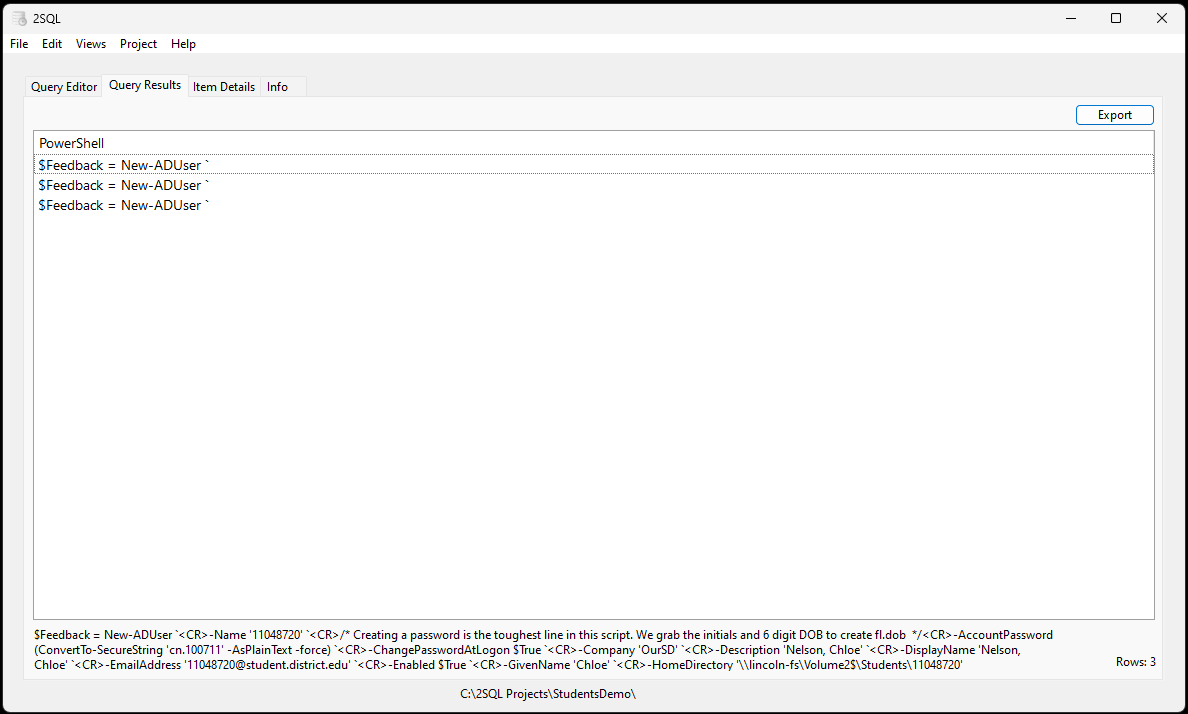
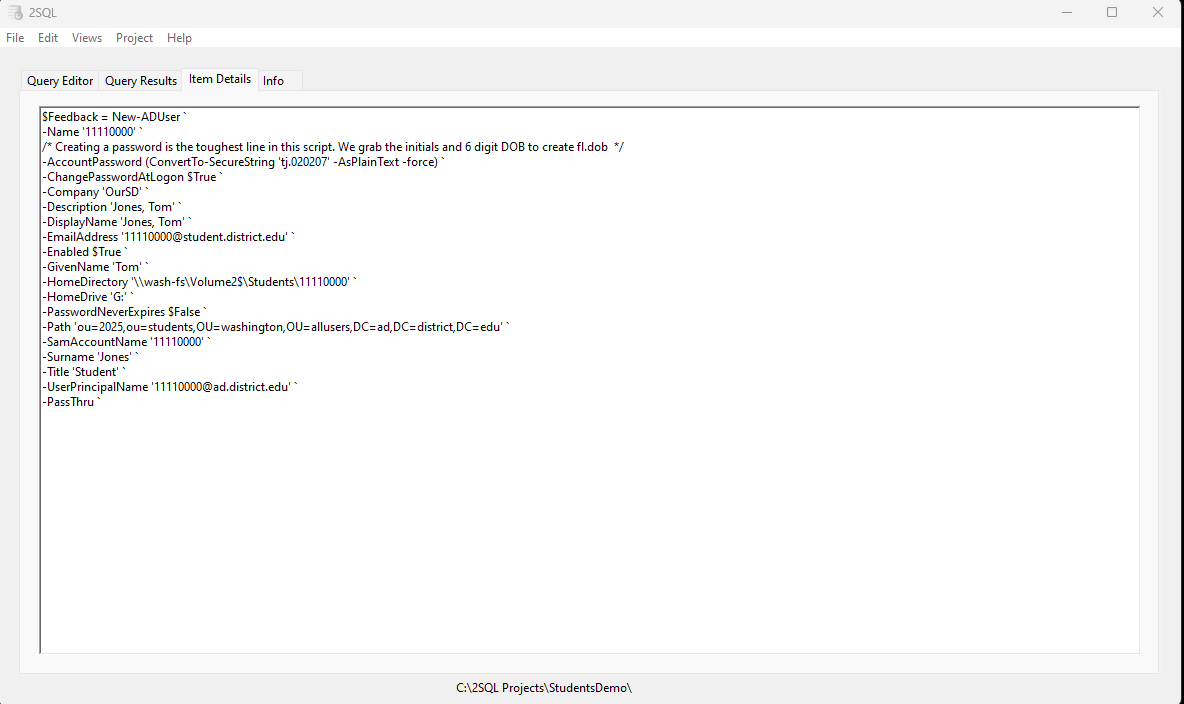
Notice the bottom area shows a peek at the full result. Right click on a column and choose Item Details to see the full result for that item.
Right click on an item and choose Copy Column to copy the entire output
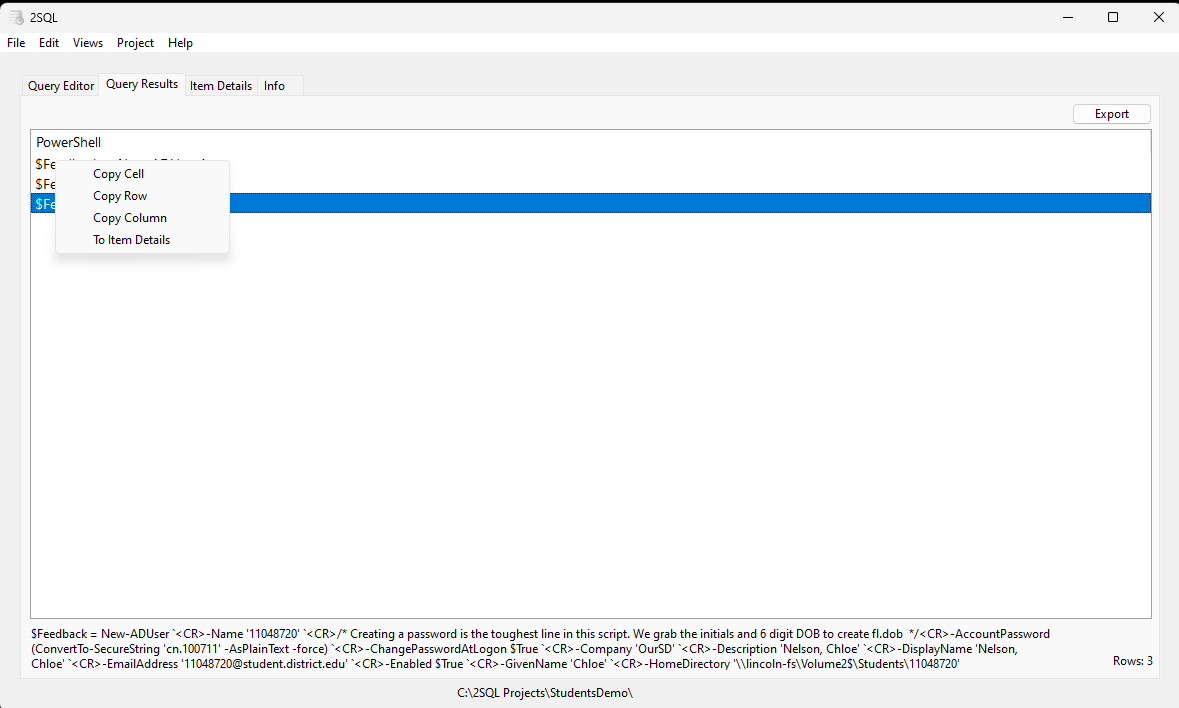
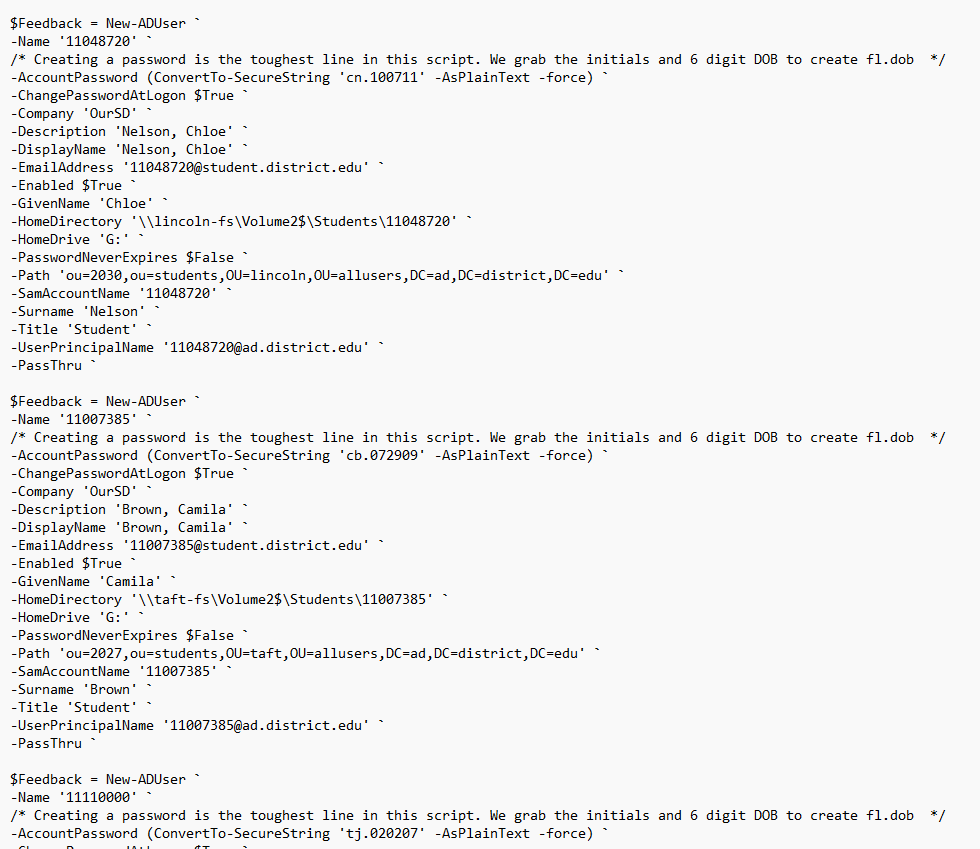
After Copy Column, the clipboard has the full result, ready to paste
Last thoughts.
Be sure to save your Query before you quit!